Small space, big ideas: 5 tricks for a minivan conversion
Jun 18, 2023from Amelie Corves
Hinterland employee Amelie reveals her smart DIY creations and practical gadgets that have proven themselves during the conversion of her "Jumpy".
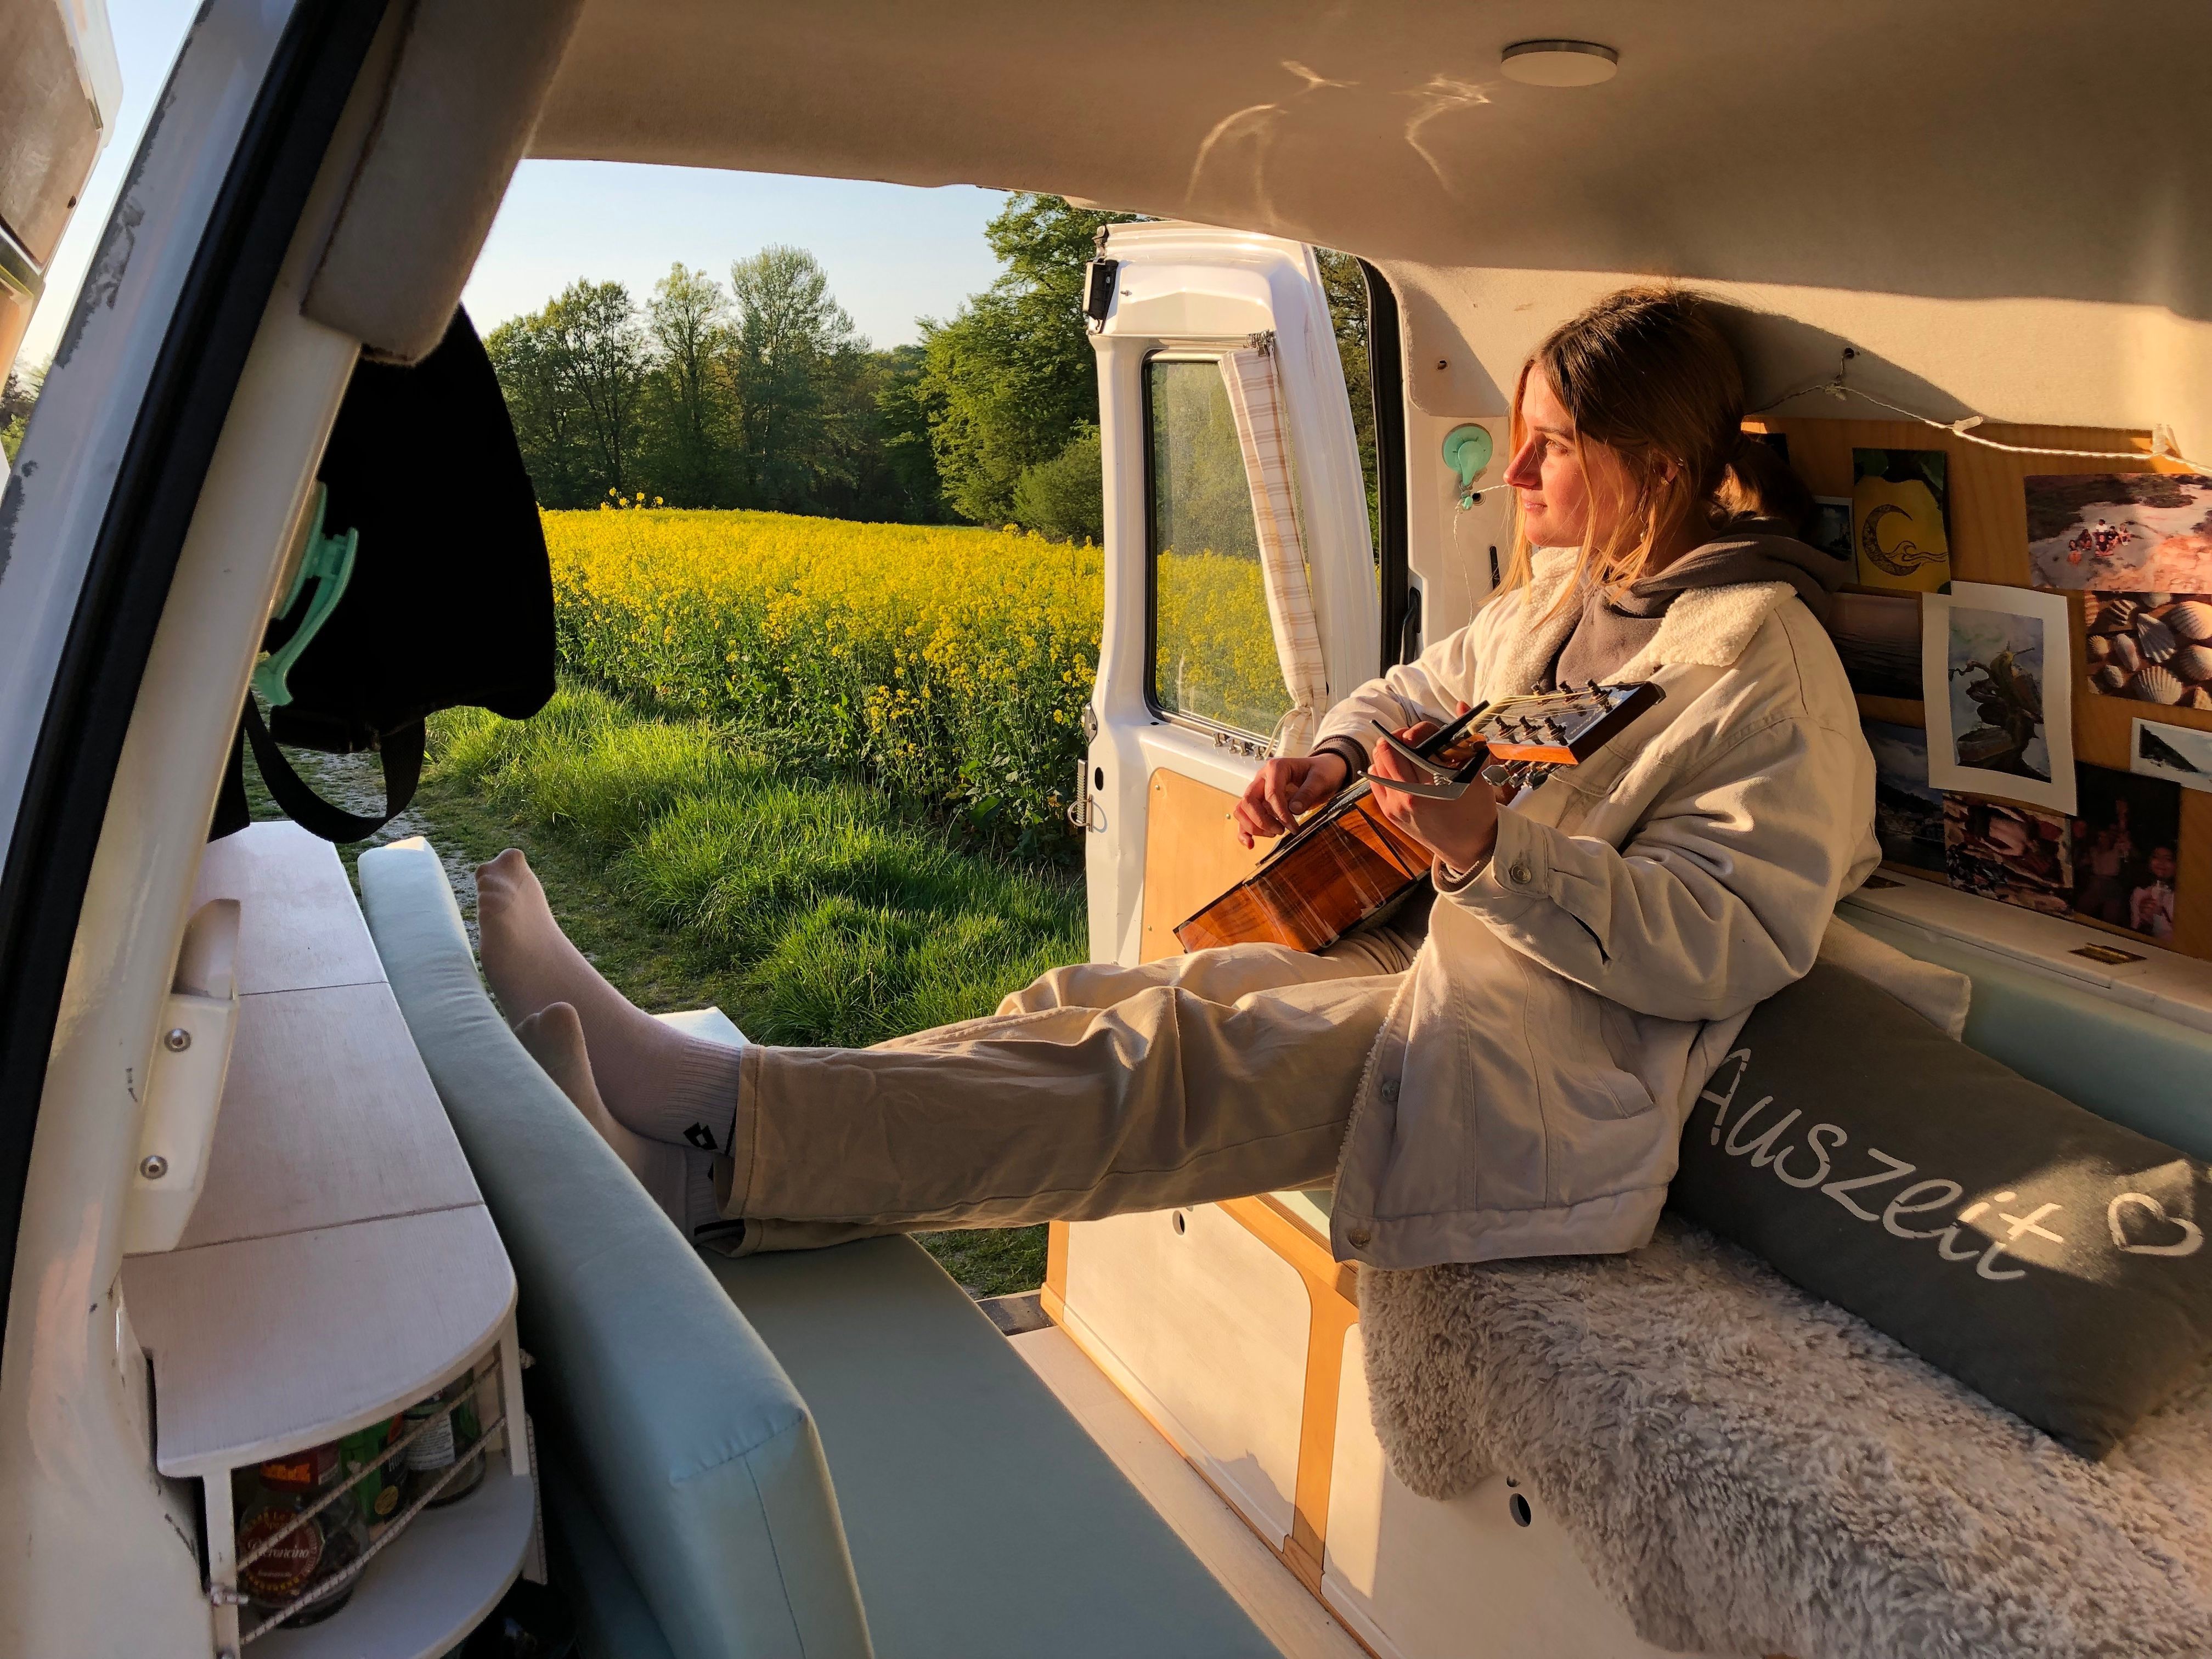
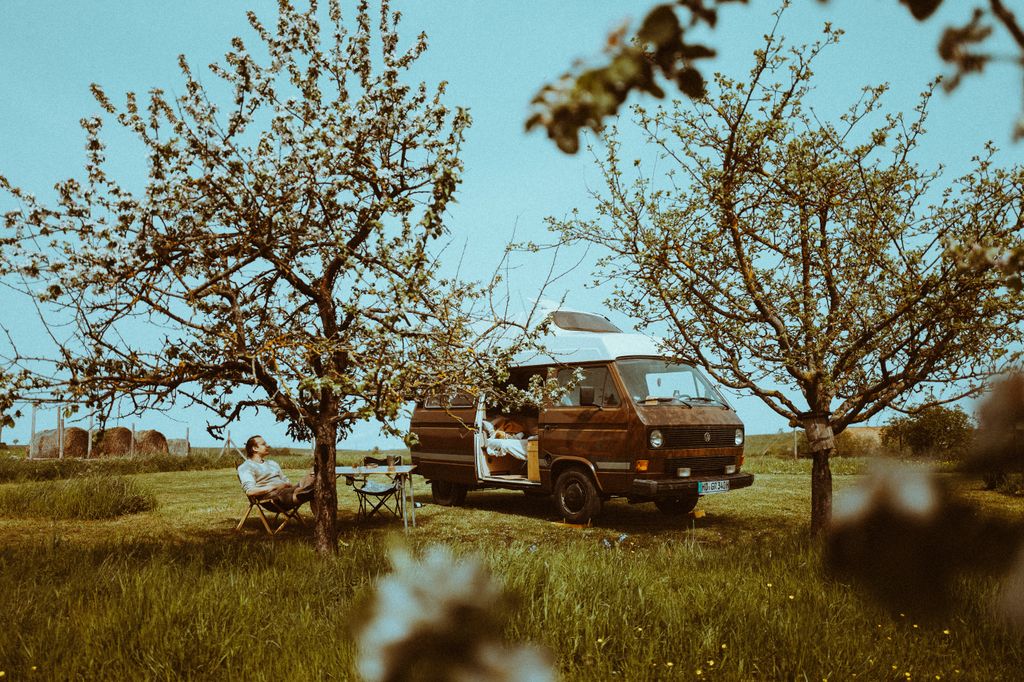
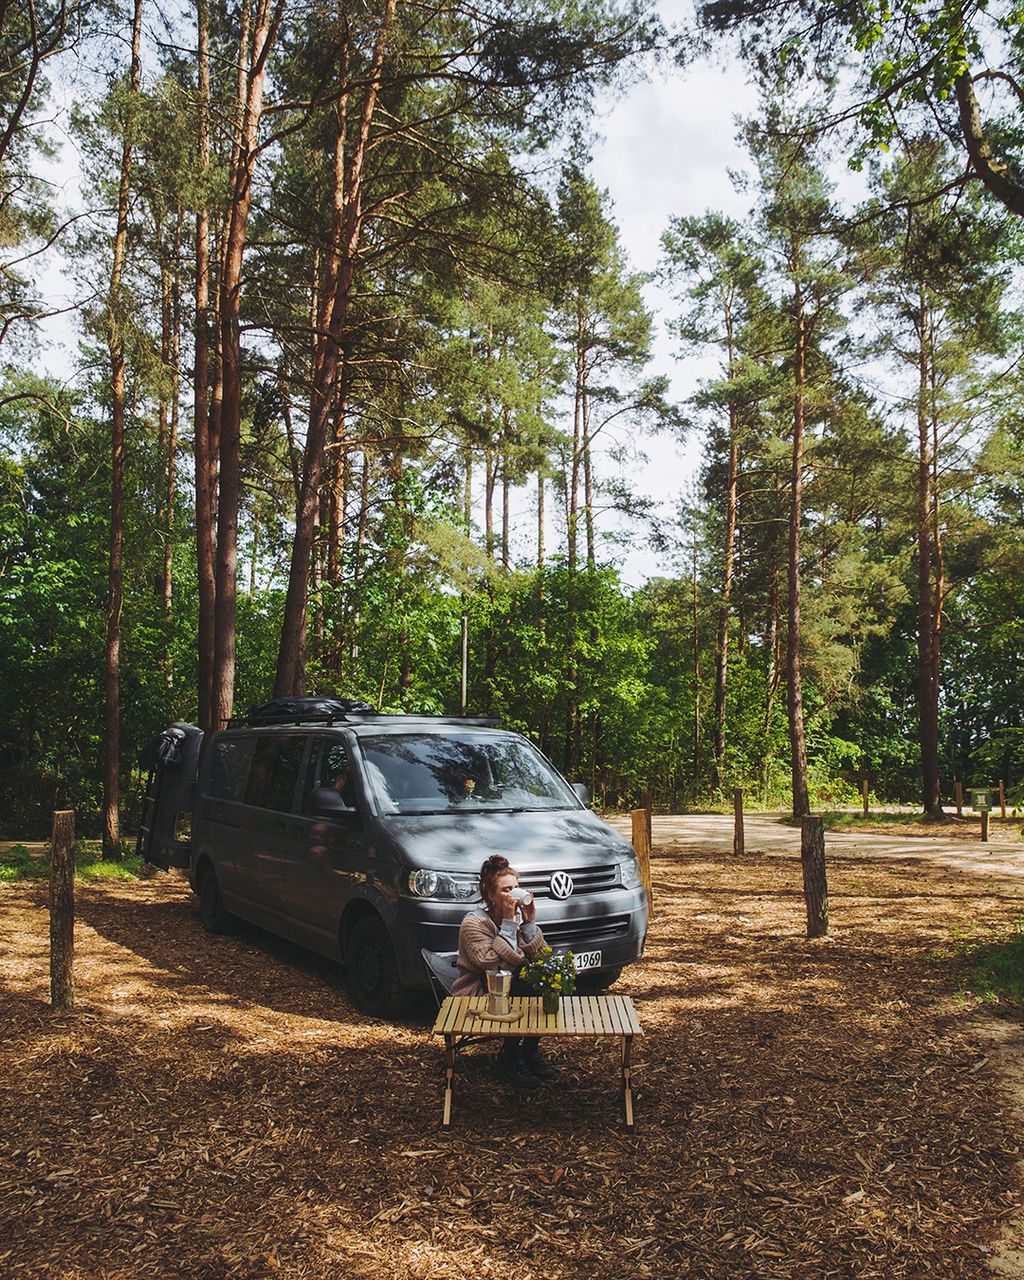
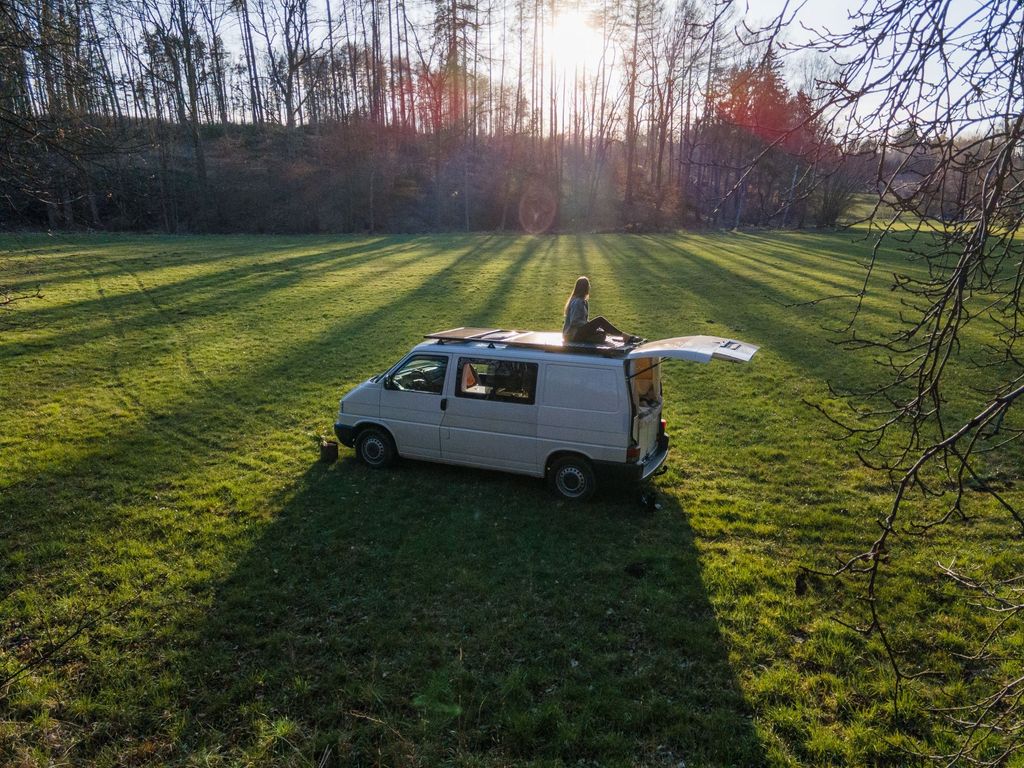
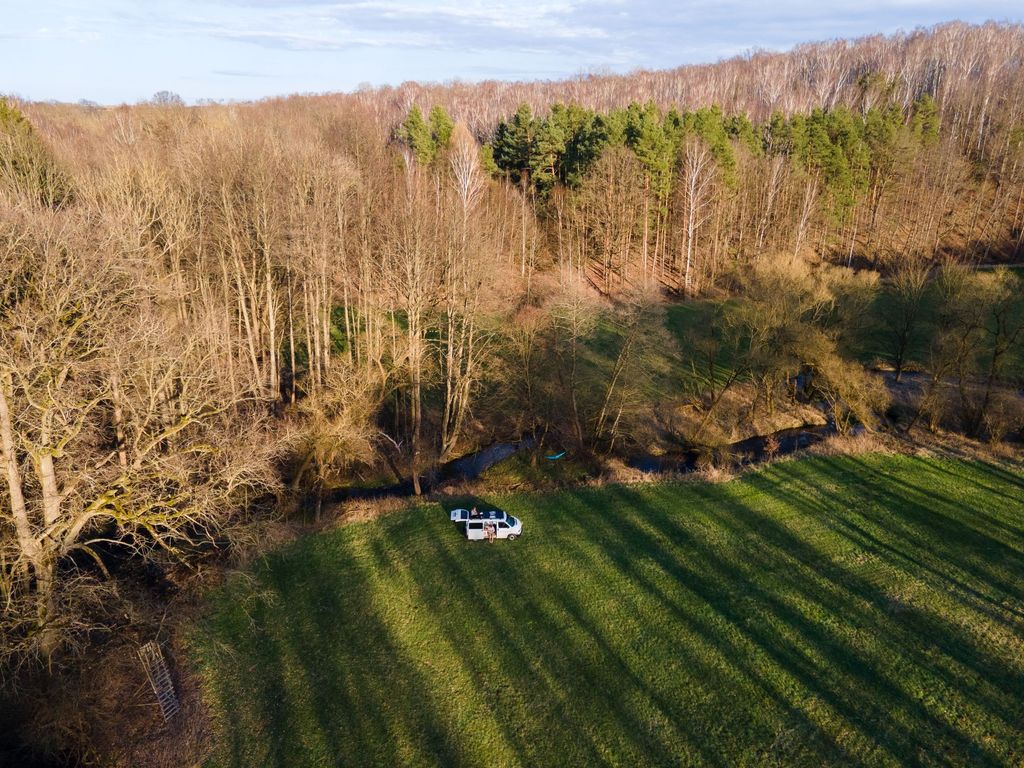
Before we start, I would like to introduce myself: I'm Amelie, 20 years old, a working student at Hinterland since this year and have actually been a camping enthusiast all my life. Three years ago I finally fulfilled my dream and bought a former workman's car, a 2005 Citroën Jumpy. With the thought "How the hell is everything supposed to fit in there?" the conversion started. I was inspired by conversions done by friends and acquaintances, and in the end, all (space) issues were actually solved with a few tricks and tips. This allowed me to embark on a six-month journey through Italy, Spain, Portugal, and France in 2022!
Here are my five best ideas and gadgets, which might inspire you for your own (mini)van conversion:
1.) Because simple is simple: an uncomplicated water supply. Sometimes the simplest solutions are the best. I have long toyed with the idea of installing a sink in my van, but to do so would have meant integrating a rather complex system of fresh and waste water tanks, hoses, a pump and a connection from the pump to the on-board electrical system. The canisters alone would have taken up twice the space, since half the volume must always be empty. In addition, I would have had to regularly take care of the disposal of the waste water. And let's be honest: That was all just too complicated for me.
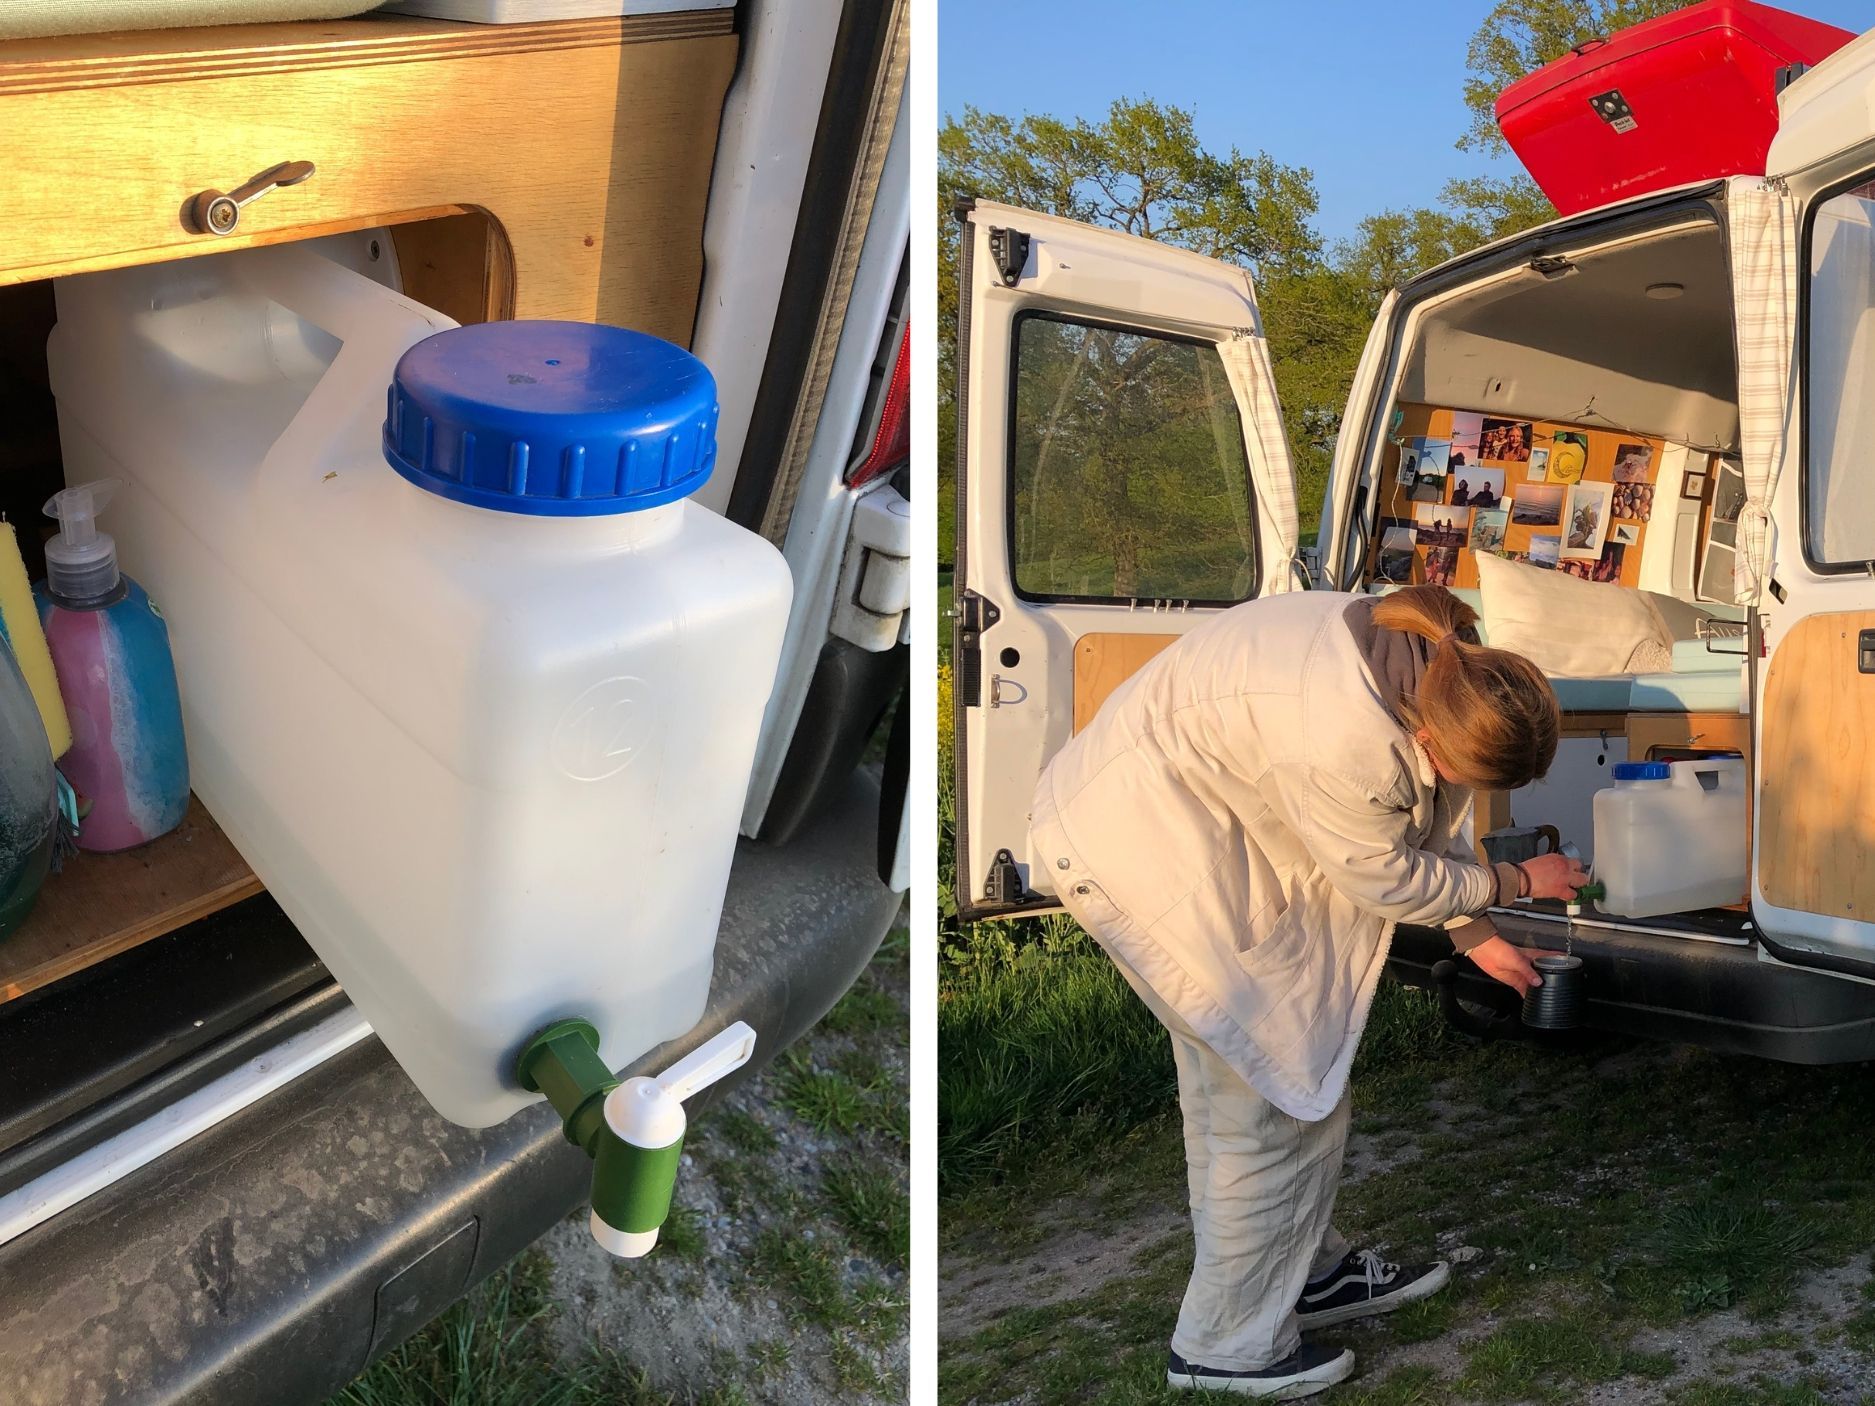
My uncomplicated solution for water supply: two 12-liter wide-neck canisters with integrated water tap, which I stow under the seat to save space. The handling is as simple as the idea and I don't need a pump, hoses or electrics. With the 12-liter canisters I already had, I could simply retrofit a faucet. But on the Internet or in stores for camping accessories you can find many variants that already have an integrated tap. When choosing the canister, I recommend for hygienic reasons wide-necked canisters that have a large opening and can thus be cleaned very well with some dishwashing liquid and a sponge. As a sink, I use a foldable wash bowl made of flexible material, which can be stored in a space-saving way. But where does the dirty water actually go after washing up? For the sake of our beautiful environment, be sure to use detergent that is biodegradable. A real insider tip for this is good old Pril. Alternatively, try a household tip and use baking soda as a grease solvent. It is completely biodegradable and therefore does not harm the environment in any way.
2.) Never stumble in the dark again: a remote control for the lights.
When arranging the individual components for your van's interior, it can be a good approach to consider which things should always be within reach and which can be stored in a rather hard-to-reach storage space. Essential for me: quickly turn on the light without having to climb through the car. That's why I've integrated a remote control into the light installation in my car, which is mounted right next to the sliding door. It can be operated by touch and I can turn the light on and off as well as dim it.
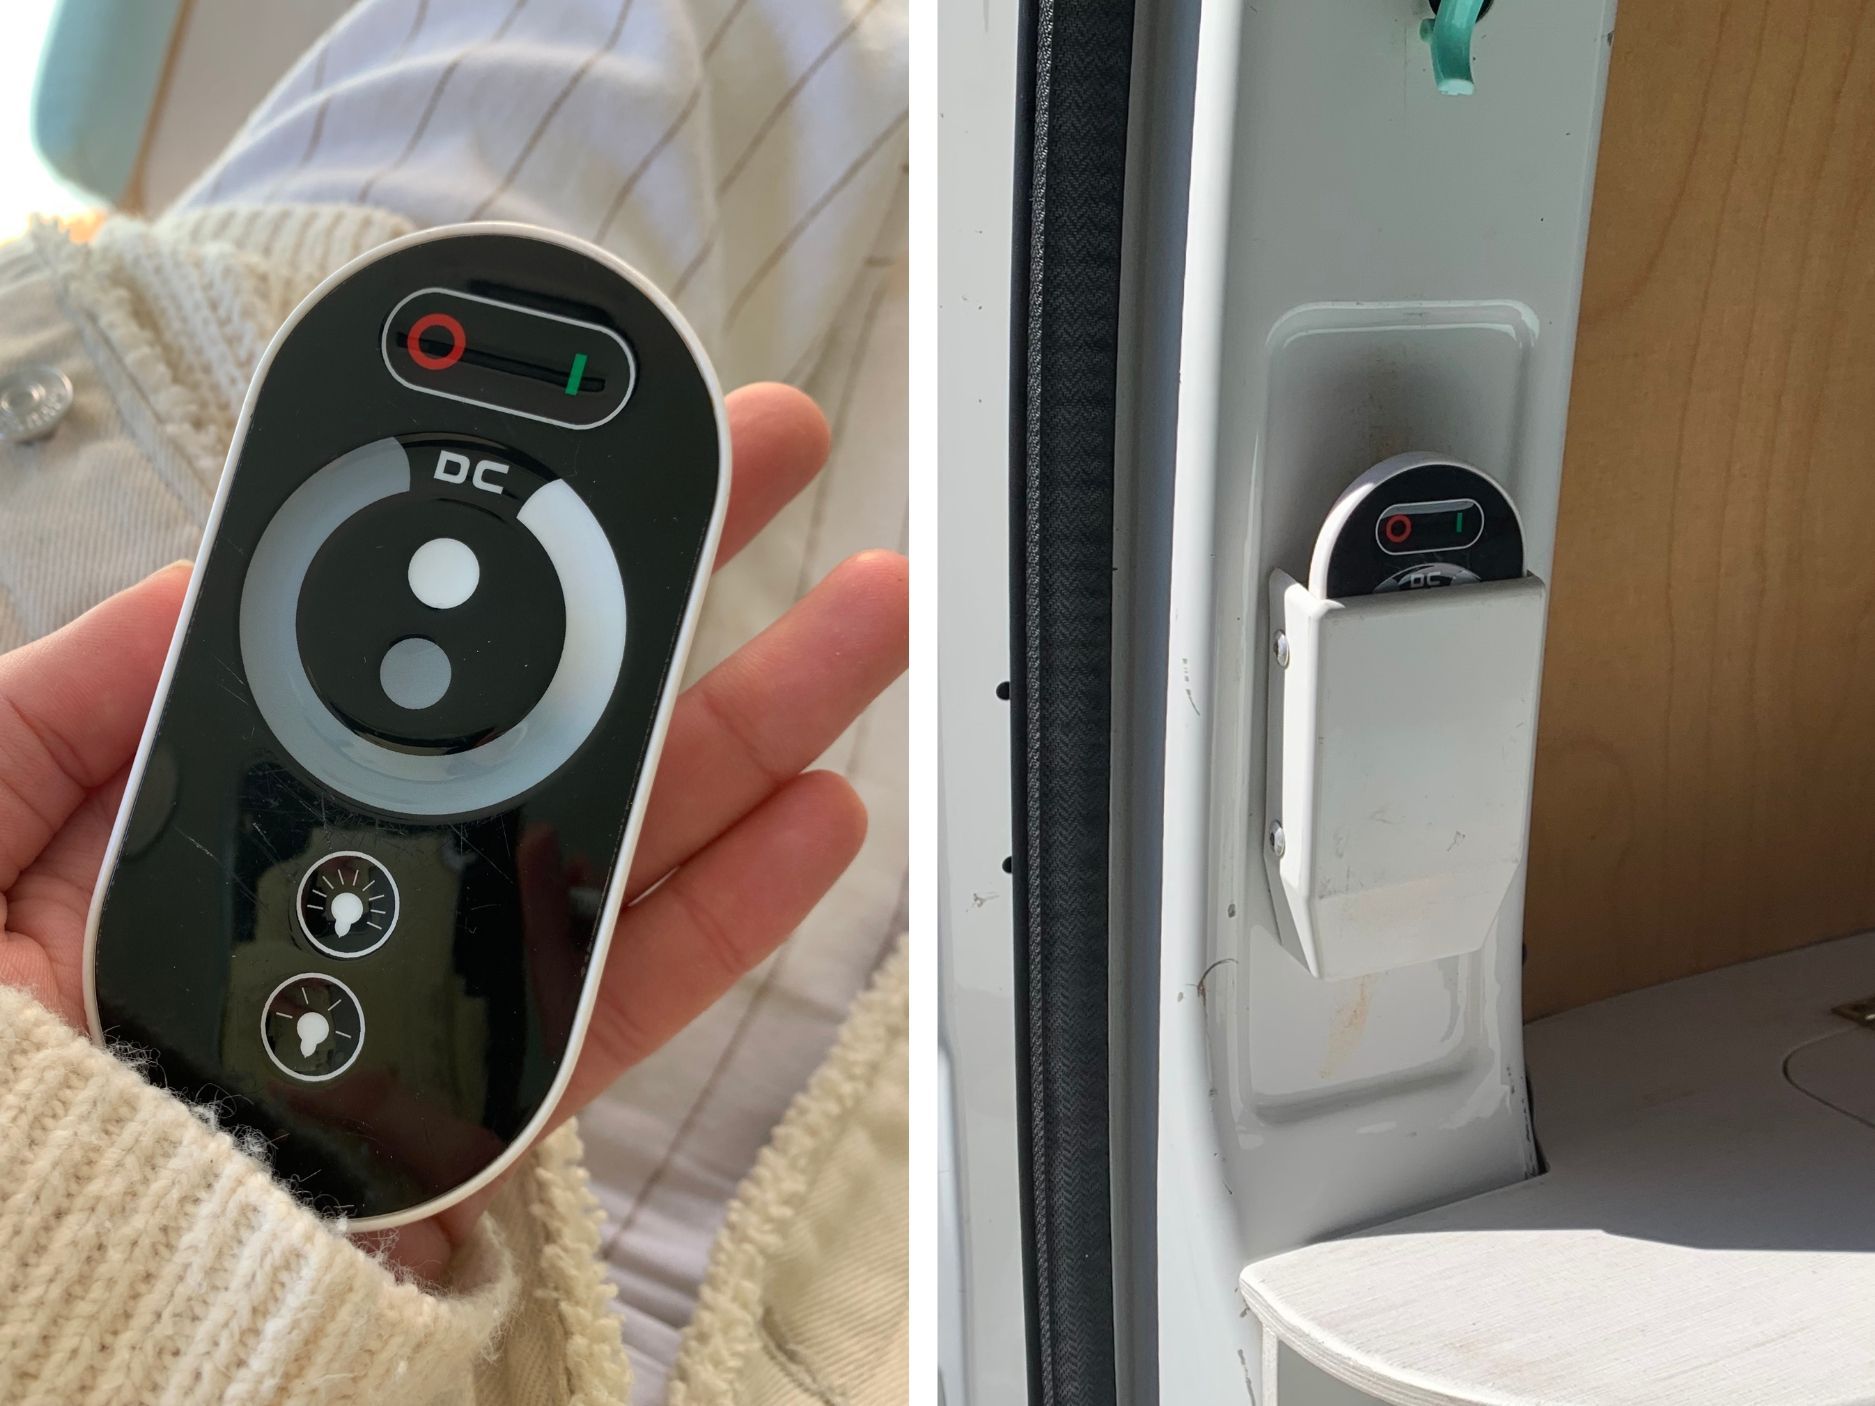
The remote control includes an LED controller that translates the commands of the remote control into the language of the LEDs. When installing the controller, it is important to know how the on-board electrics are wired, as in many vehicles several consumers are still connected to a common ground point (negative pole) as standard. Since the LED controller usually controls the connected lamps via the negative pole, make sure that really only the LEDs are connected to the controller and not accidentally also the refrigerator... Otherwise not only the light but also the expiration date of the food will be dimmed. Fortunately, since I did my own wiring from scratch, I didn't have to take this into consideration and was able to save a few feet of cable to the sliding door by using the remote.
3.) It works after all: a space-saving folding ladder for the roof box. This ladder is my absolute lifesaver. I thought for a very long time about what options there are with my very limited storage space for a sturdy and safe ladder to have comfortable access to the stuff in my roof box. Then I found this one and was in love at first sight. With a self constructed bracket next to the roof box, I can take the lightweight aluminum ladder folded up and disguised as an awning without wasting storage space in the van. The design is based on an aluminum U-profile bolted to the car's luggage racks.
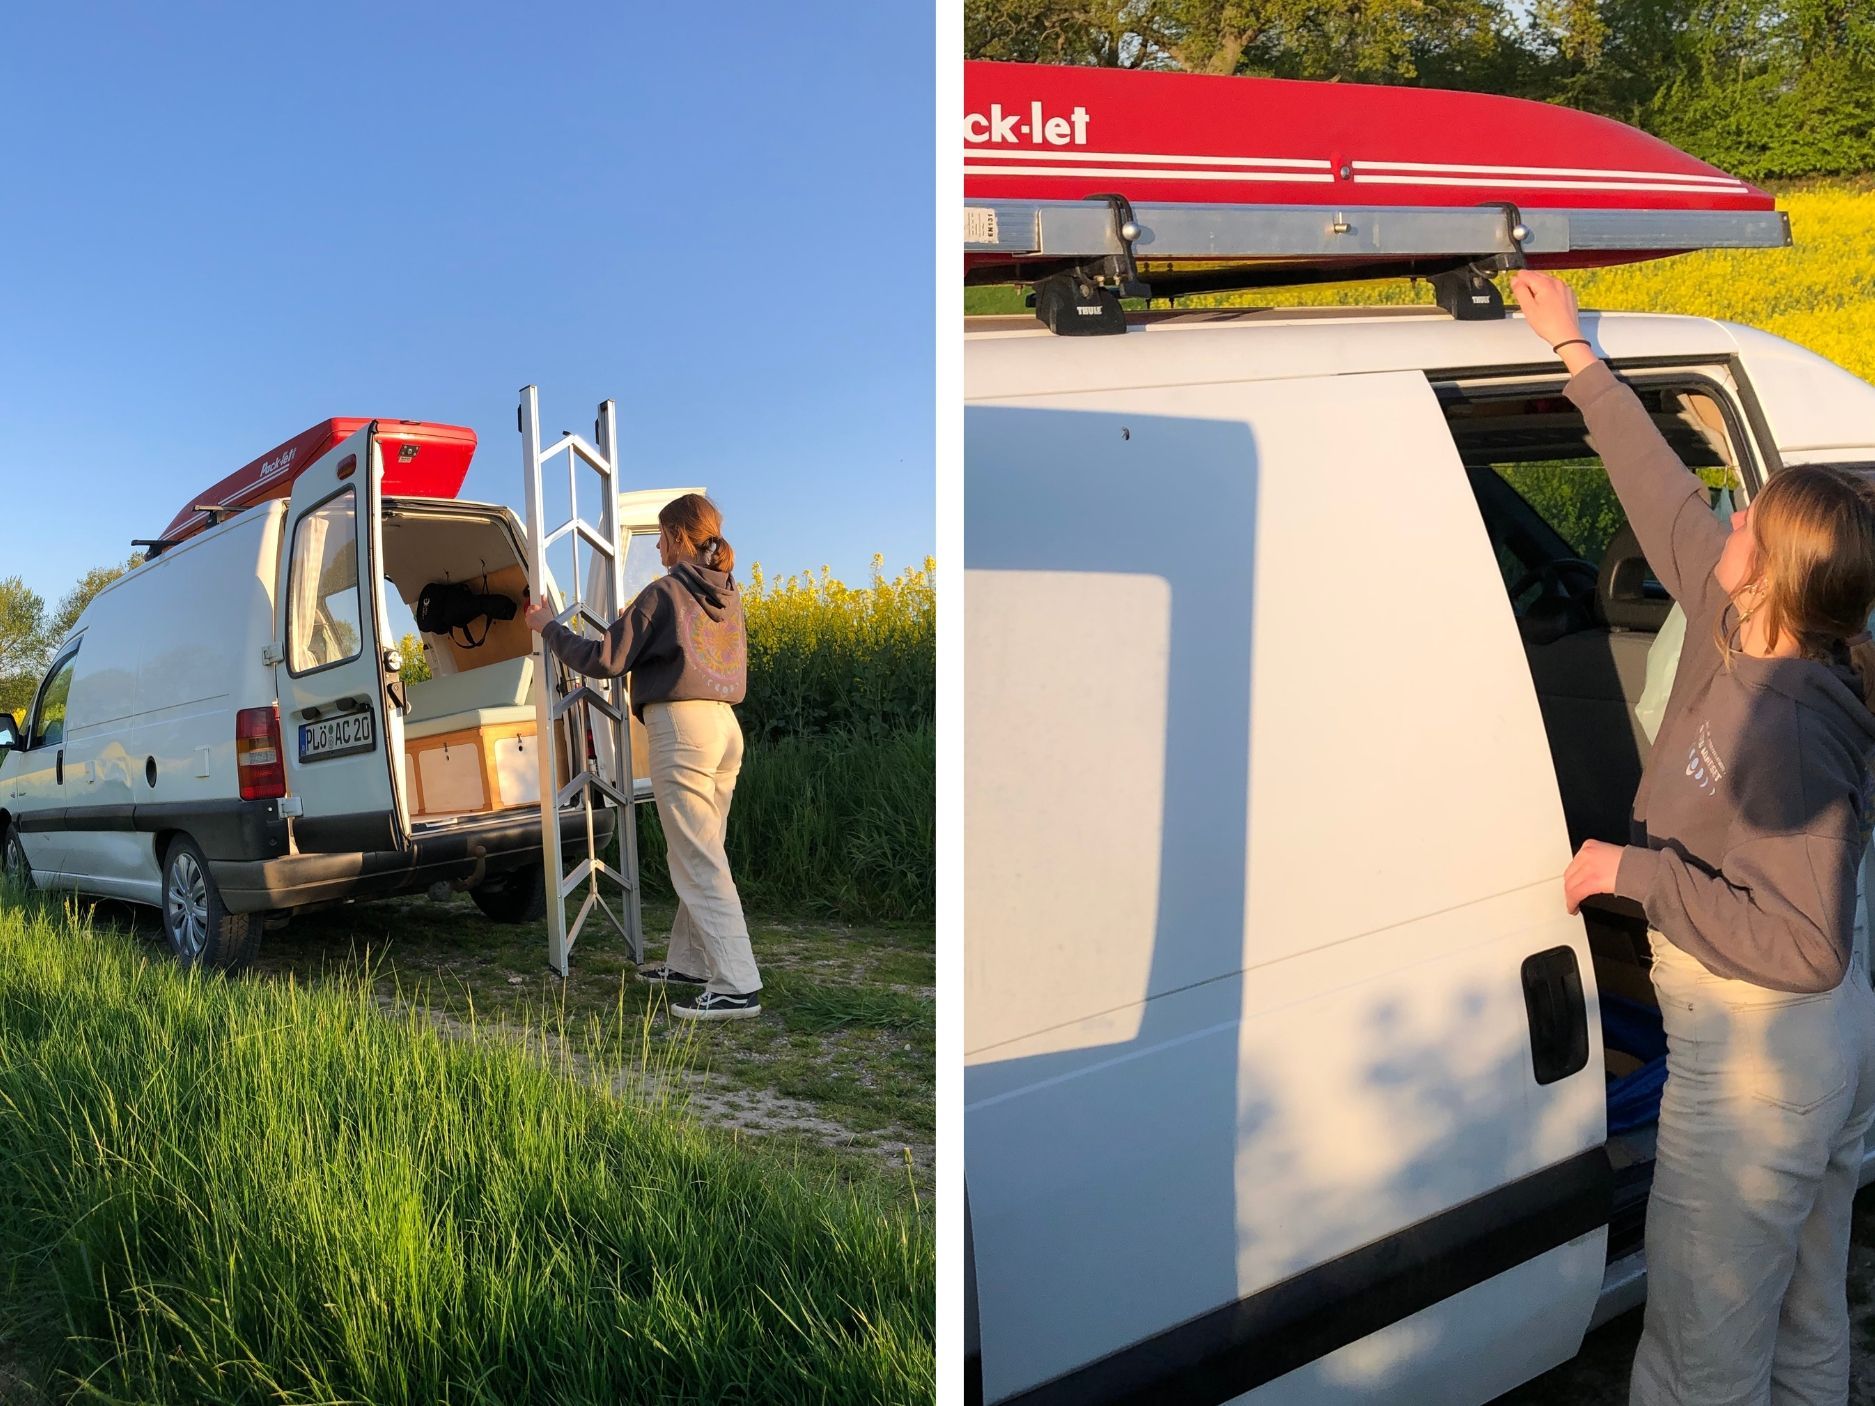
To ensure that the ladder does not become a projectile in the event of an accident, there is a recess for a brass handle on the two upper sides of the U-profile, which is screwed to the ladder and treated with threadlocking paint. This prevents the ladder from tearing out forwards or backwards. Additionally, you can still secure the ladder with rubber strops, which are originally designed to hold down truck tarps in wind and weather. They are incredibly durable, making them perfect for construction. The rubbers are pulled over two stainless steel handles that are bolted to the U-profile. This ensures that the ladder can't move upward. So if you're thinking about a roof box or roof deck for your van, you should definitely consider this ladder. The only danger: pretty much all the campers I met wanted to steal the ladder from me - so be on your guard :)
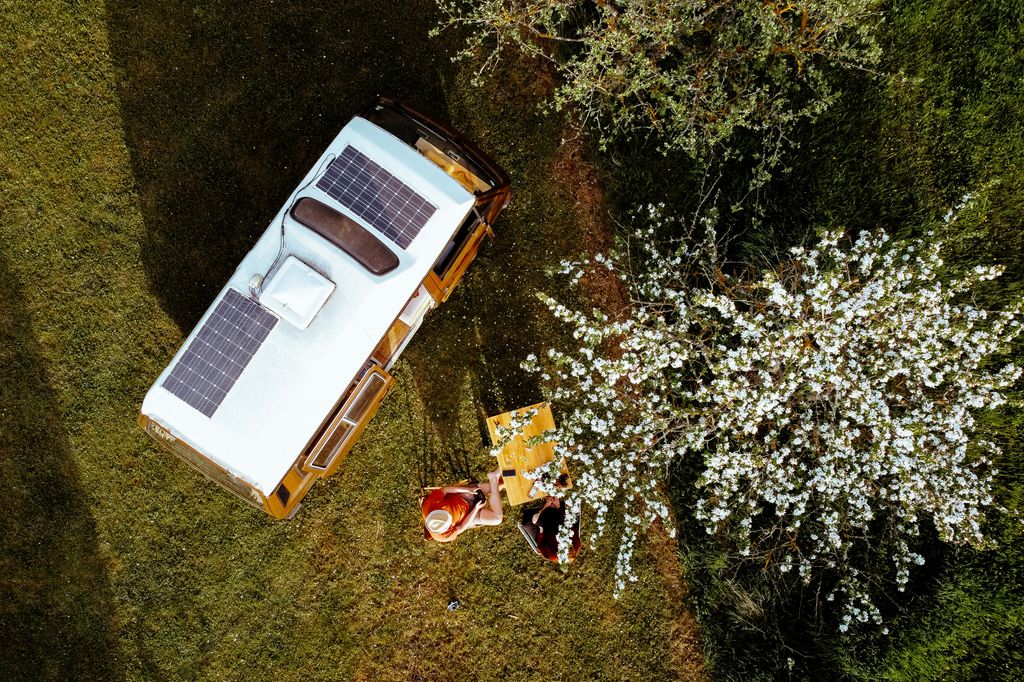
4.) Four legs, many possibilities: a self-constructed table.
When choosing a camping table, both on the Internet and in stores for camping accessories, I have encountered various models that fold, extend or click together - but I have yet to see a more space-saving and versatile model than my father's self-construction.
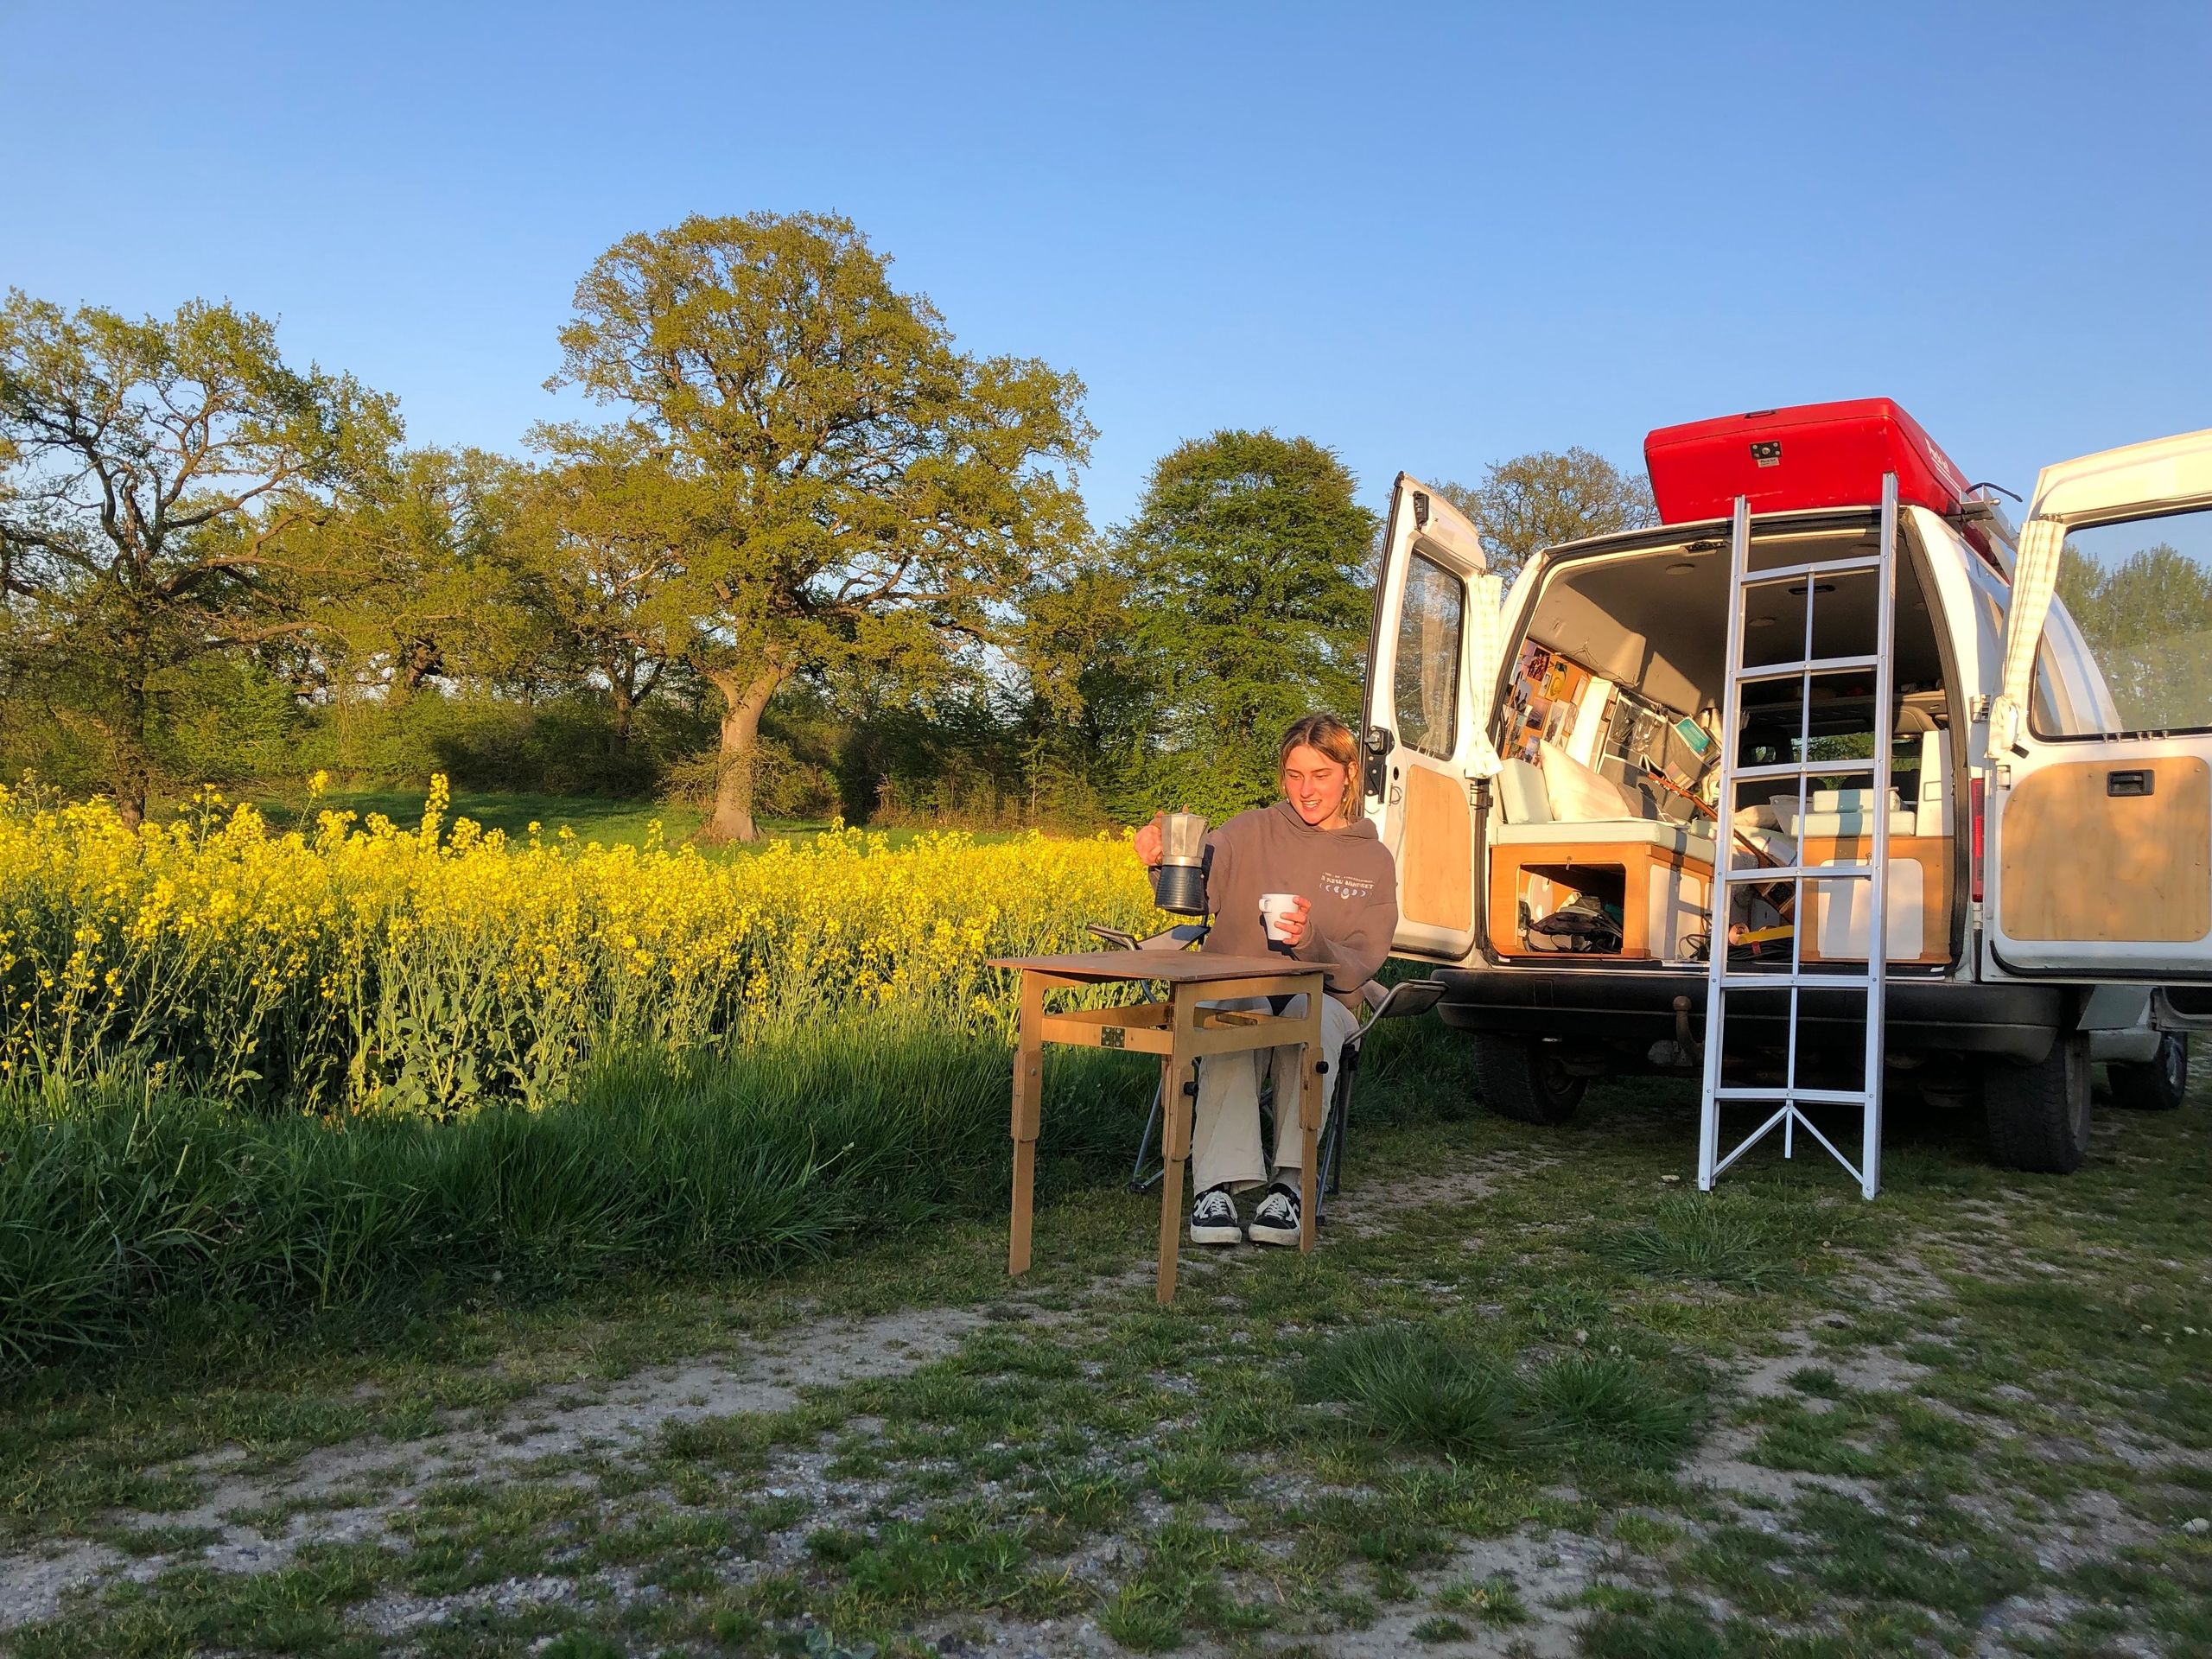
To describe the mechanisms, I divide the table into three separate parts: The tabletop, the top frame, and the table legs. The tabletop also serves as the bed top in my van by filling the aisle between the benches. But let's get to the more exciting part: the top frame, on which the tabletop rests. This ensures that the table can be reduced to a pack size that does not exceed the volume of the wood used. Responsible for this is, among other things, a folding movement by a total of 6 hinges. Two of them are located centrally on the outside of each of the short sides, the other four on the inside in the corners of the table frame. With them, I can fold the short sides inward around the center axis so that the individual slats rest on top of each other. Using small latches that I can slide under the head of a screw, I make sure that the table stays firm when unfolded. To make the table even more compact and versatile, I can fold the table legs separately from each other. To do this, the top frame and legs each use star knob nuts as a pivot point and connection, which can be tightened or loosened by hand. The legs are clamped between two small wooden plates, which are connected to each other on the inside by a piece of wood. The small plates provide stability and the connection acts as resistance to keep the legs from exceeding a 90° angle when folded out. In addition, the height of the table is deliberately adapted to the height of the bench seats, so that I can also place it in the interior of the car in different variants - for example, to work in the van office.
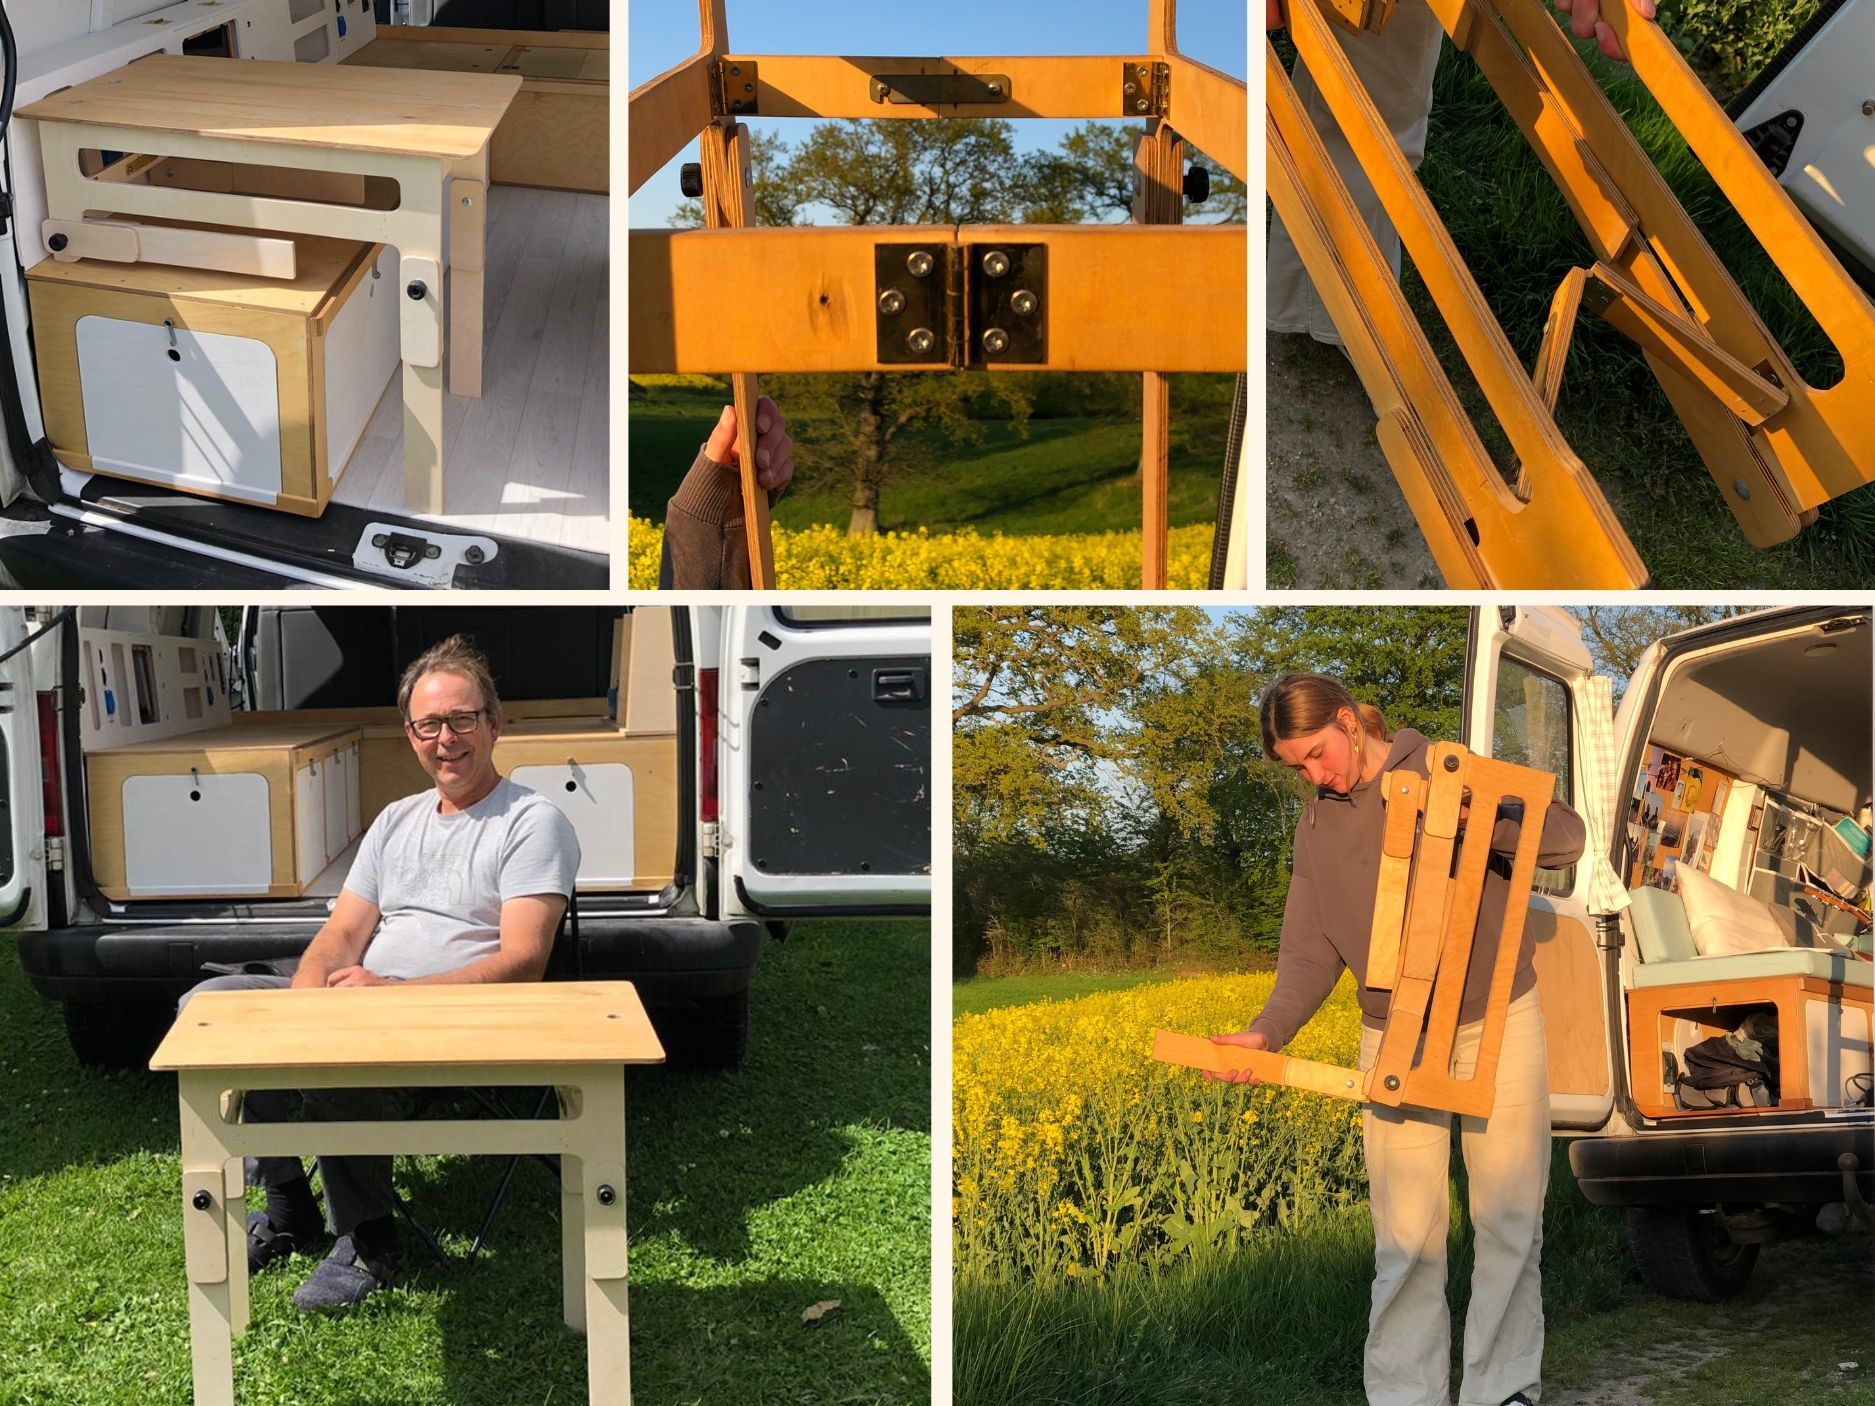
As material for the table (as well as in the whole van) I have used birch multiplex in 9 millimeters thickness. We treated the wood in advance with a protective oil, although I would also recommend the use of varnish, since the glass of red wine occasionally tips over and varnish usually offers better protection. A water-repellent paint would also be conceivable. All in all, the do-it-yourself attitude has proven itself so far in any case when it comes to the table!
5.) Rail transport you can rely on: an extendable camping stove. The camping stove should not be missing in any camping equipment, especially if you want to apply for a motorhome registration for your car.
Good to know: You may only install stoves with a so-called "automatic switch-off" in the interior of the car.
But what do you do if there is no surface large enough for a camping stove? Exactly: You simply hide it!
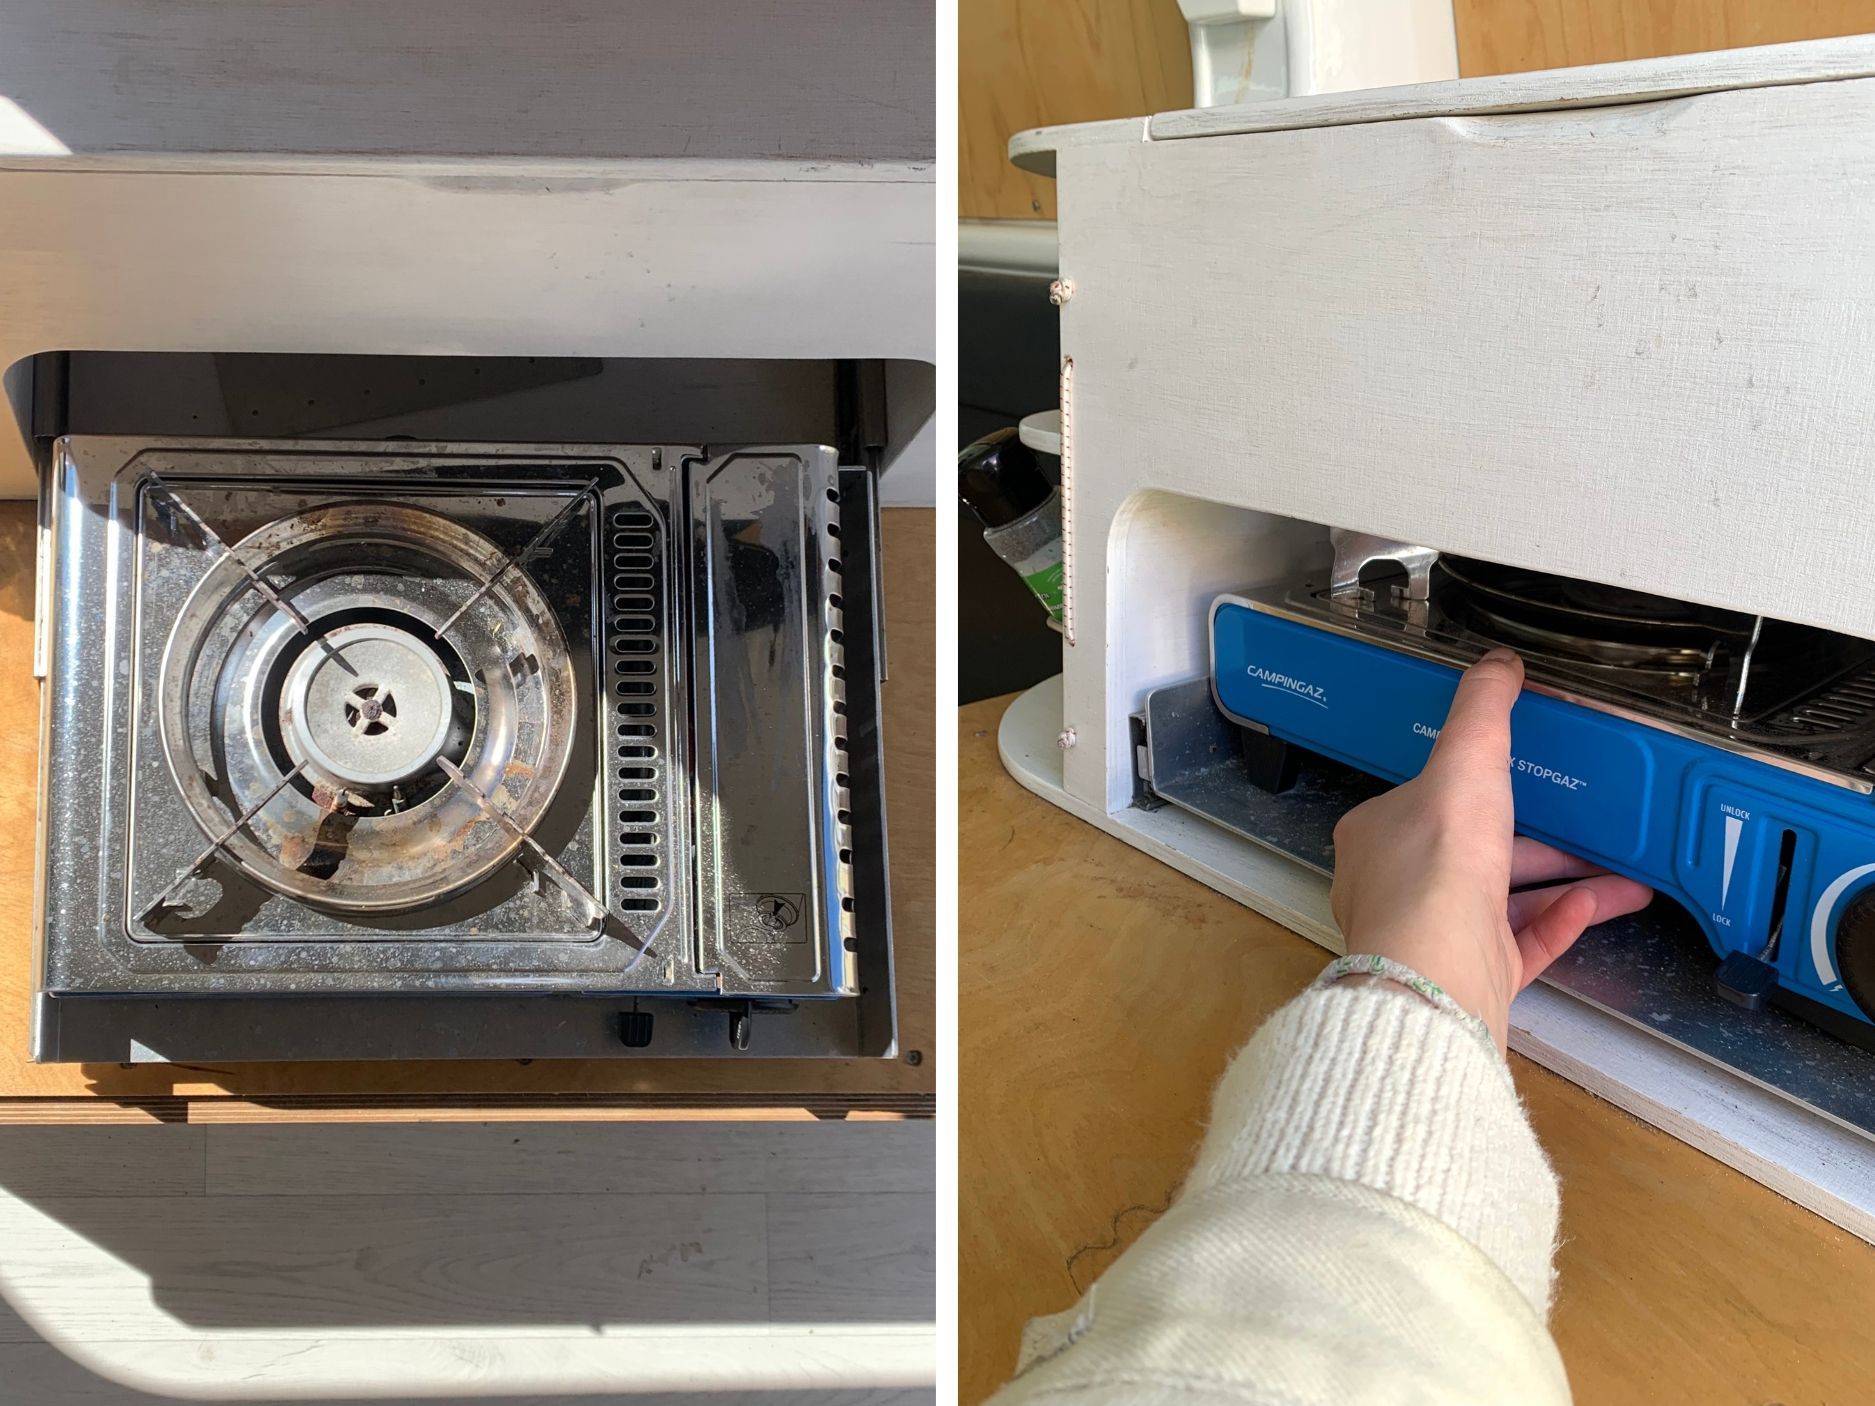
One system that has worked super well for me is an extendable substructure. I have the "Campingazkocher" mounted on an aluminum plate and provided with rails. On the rails is a resistor, so that the stove only comes to light when you really need it. I also have a rotating latch on the back of the aluminum plate so that nothing moves when it's pulled out. Thus, the stove is firmly and securely installed, never in the way and yet always there when I need it.
My conclusion on the subject of minivan conversion: A mixture of smart, well-researched products and many practical do-it-yourself ideas has absolutely proven itself for my Jumpy! During the trip, I also noticed above all that less can be so much more.
So spare no effort and remember: when you work on a small scale, there's room for big ideas!
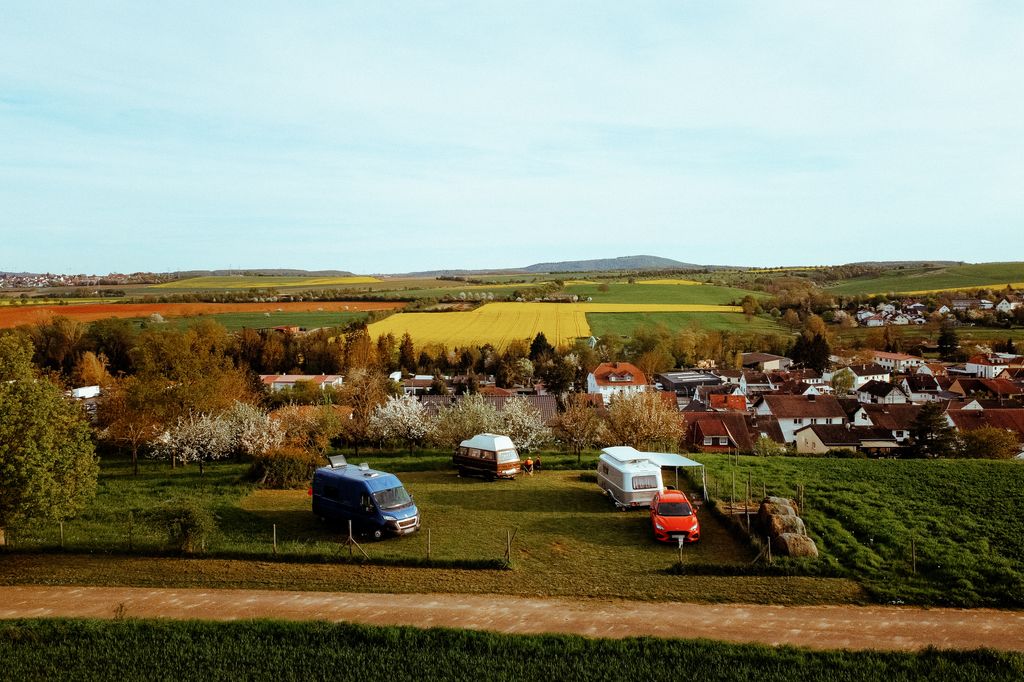
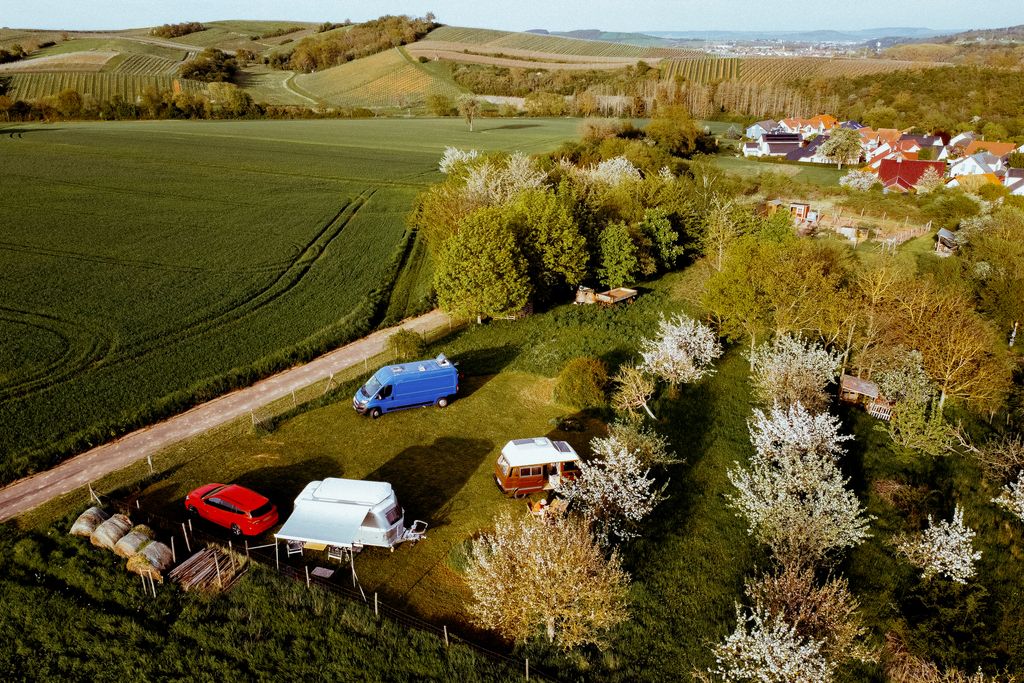
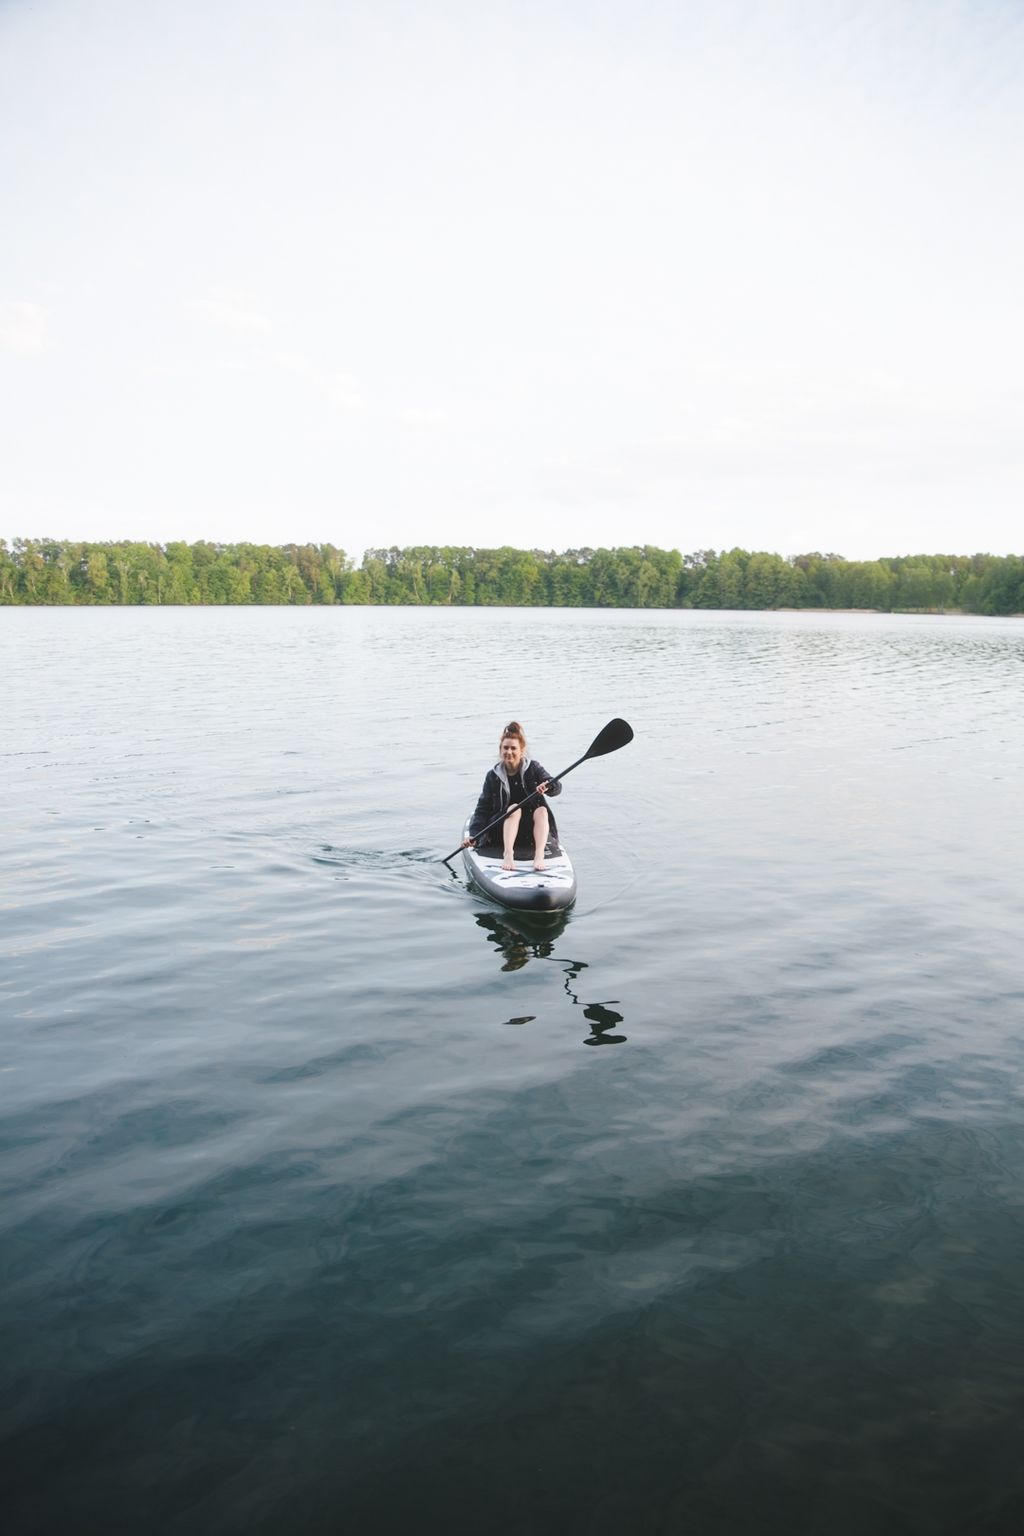
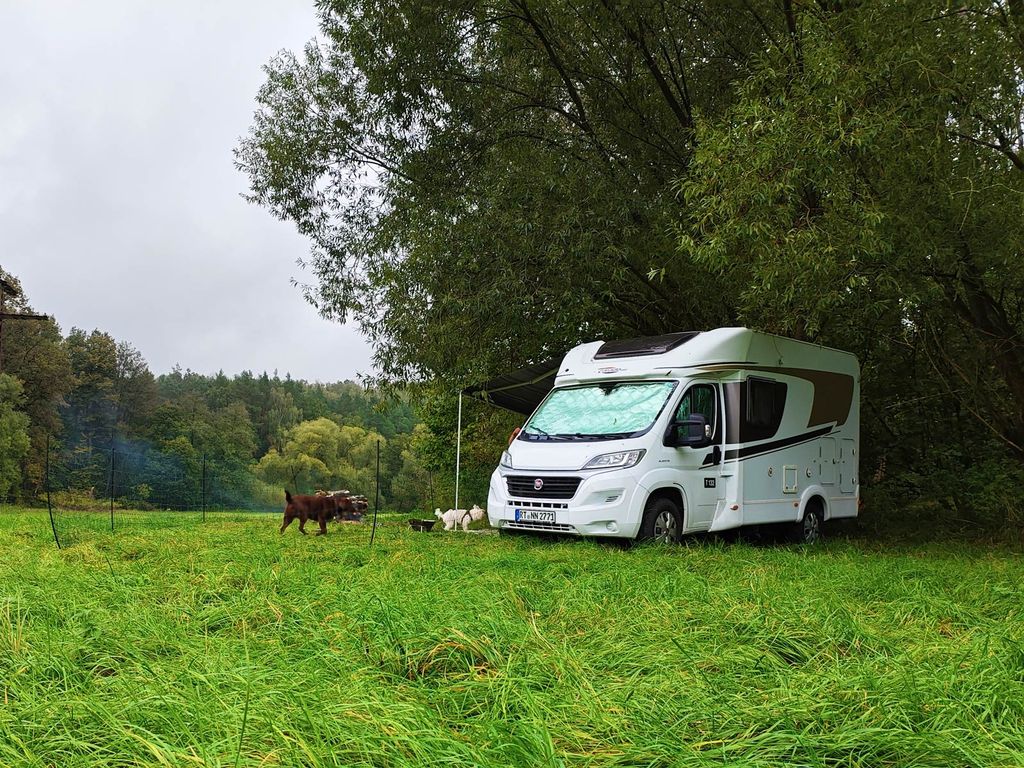
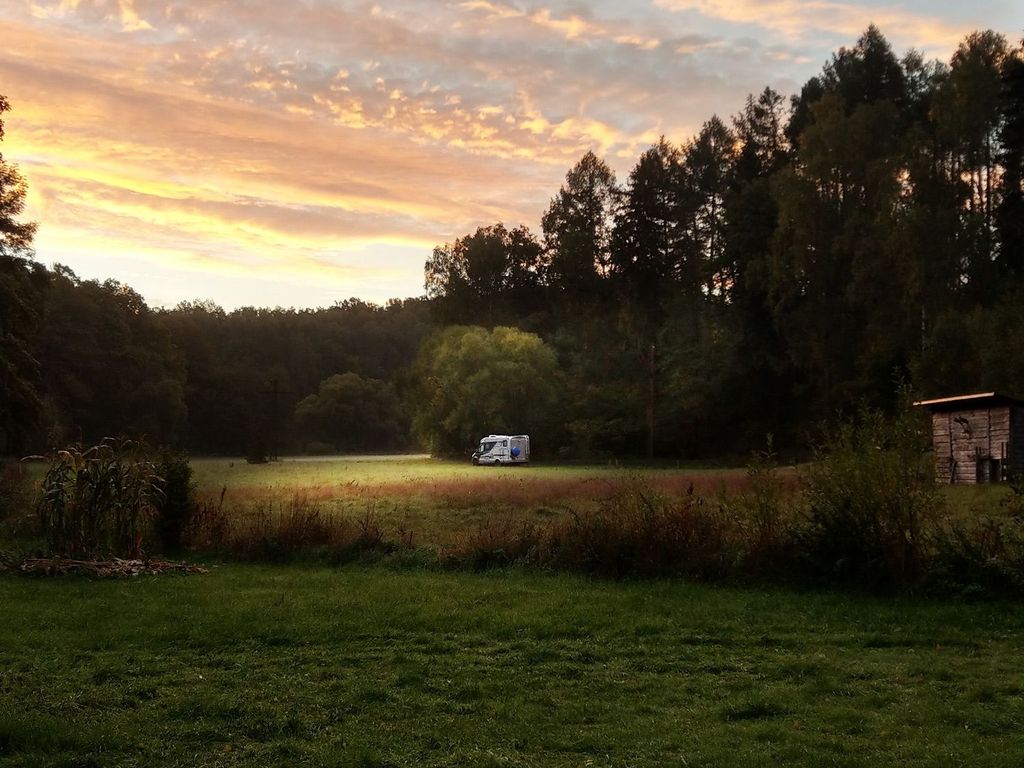
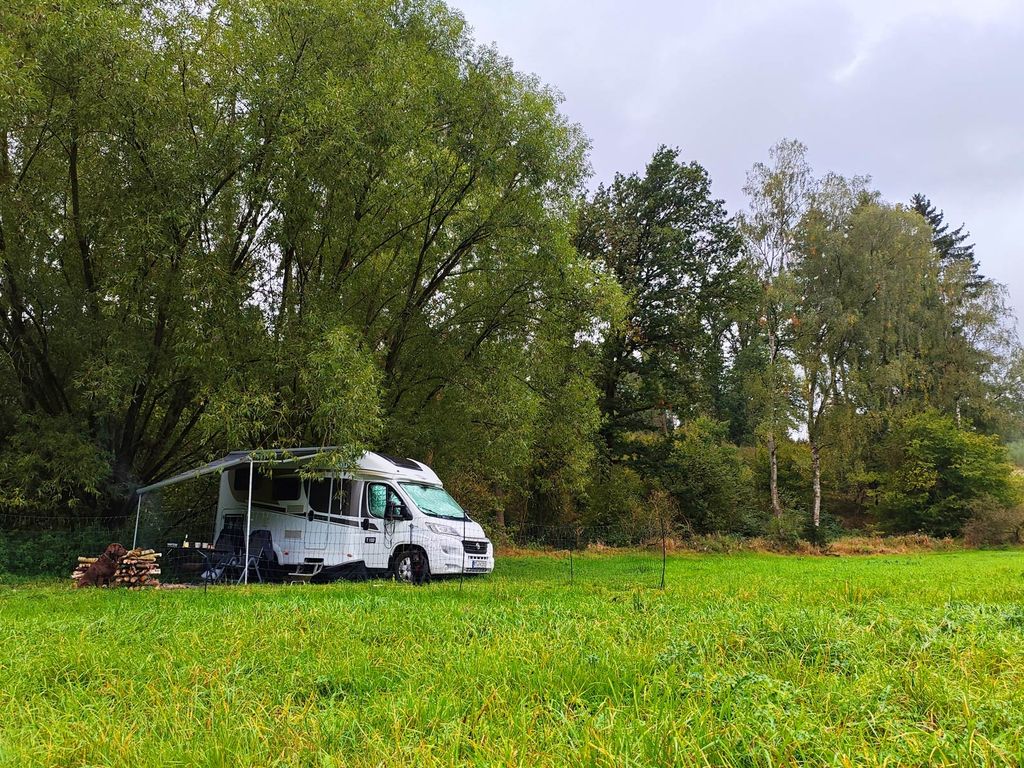
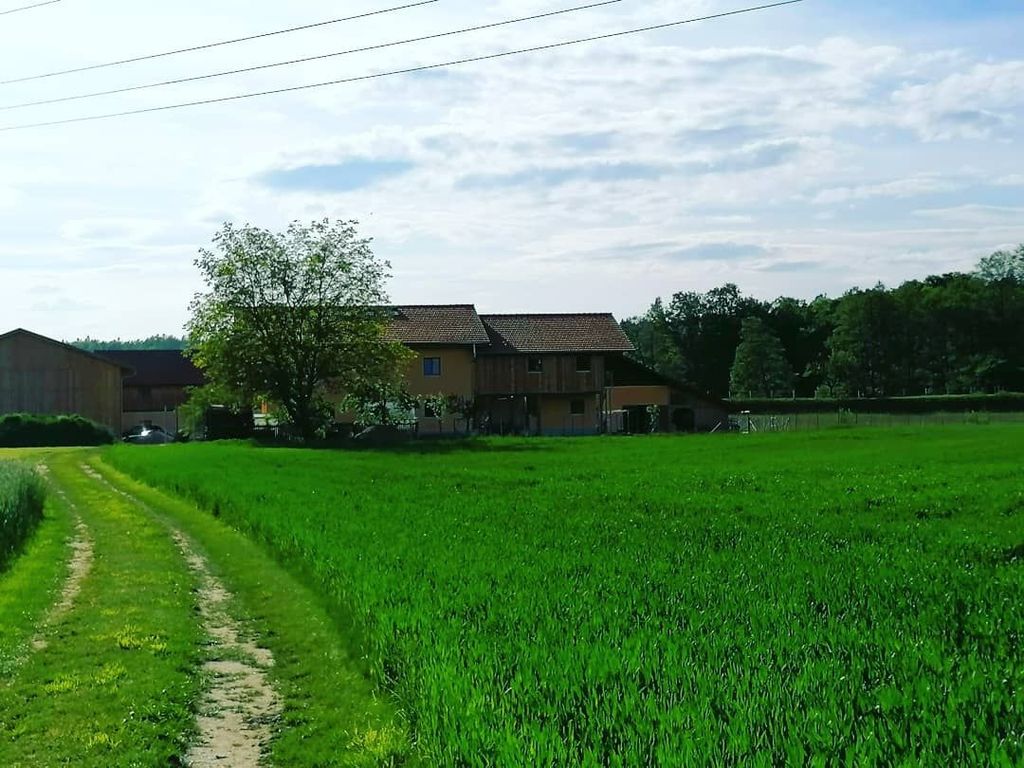
And as a little motivation for the expansion: As soon as you are done with it, you can finally go into the hinterland! :) Here are my four favourite camps and accommodation for your next trip:
- Image 1 of 5
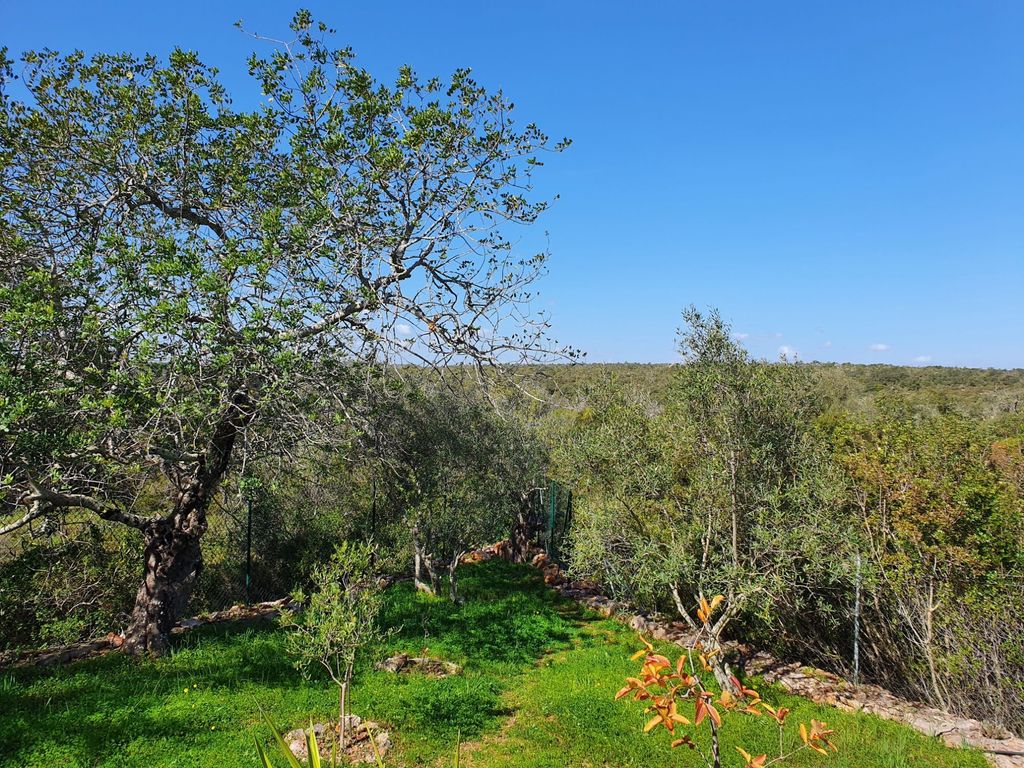
Camping in the orchard
Weinsheim
from 20€
4.9 (48)
- Image 1 of 5
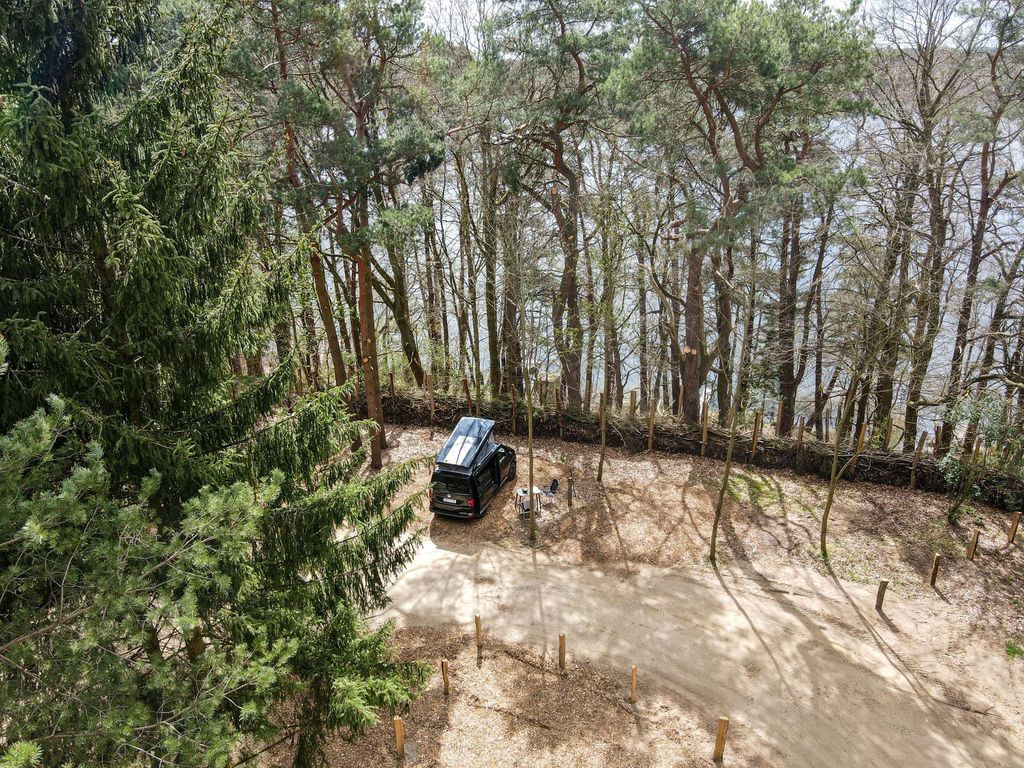
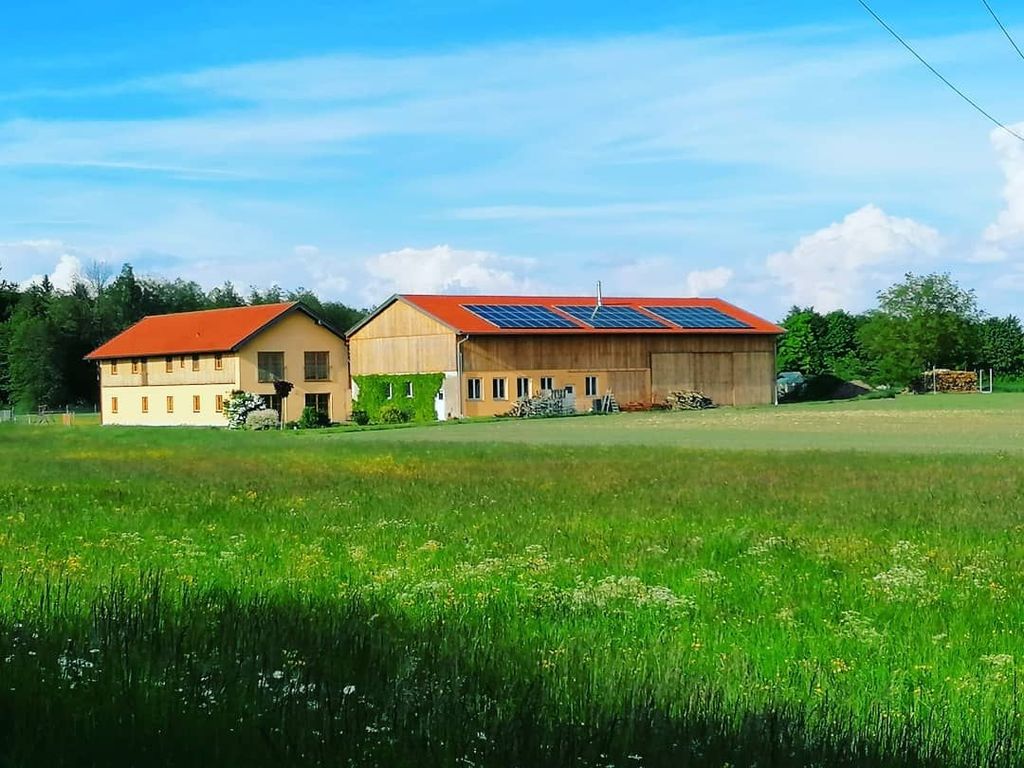
Forest pitches on the water in the Ruppiner Seenland
Flecken Zechlin
Instant booking •from 28€
4.4 (51)
- Image 1 of 5
Camping insider tip - small valley directly on the stream
Limbach Oberfrohna
Instant booking •from 26€
4.6 (36)
- Image 1 of 5
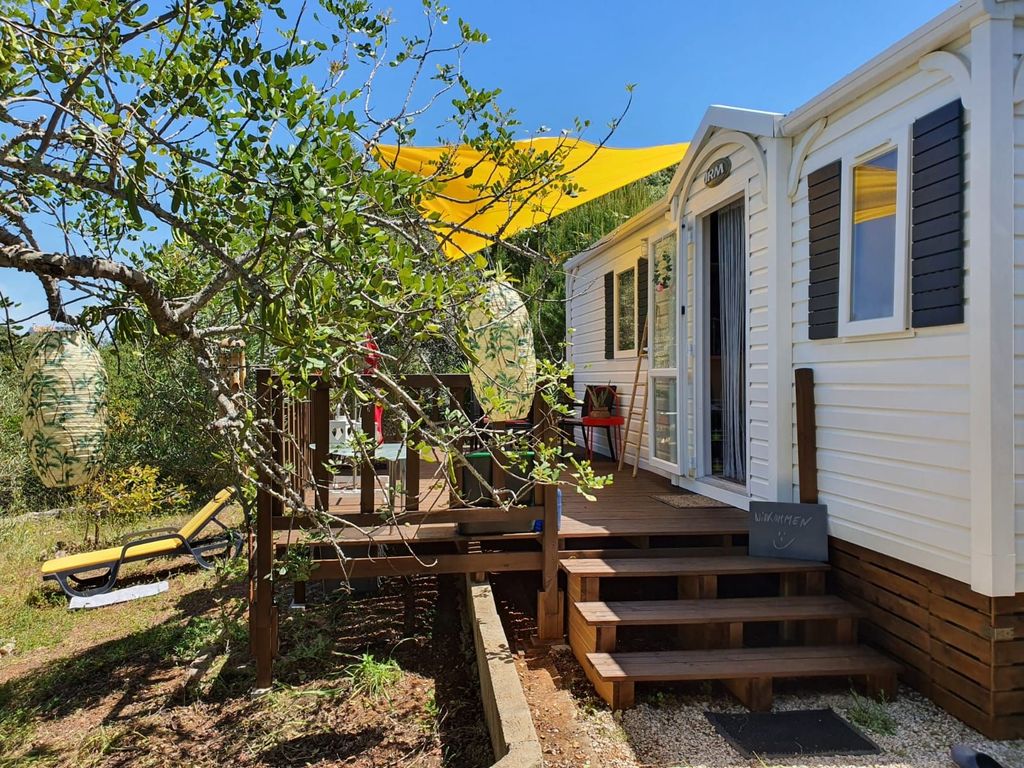
Soak up the sun in the Tiny House in the Algarve
Loulé
from 71€
- Image 1 of 5
Alpaca Ranch Camping
Haiming
Instant booking •from 26€
4.9 (14)

On a road trip through the hinterland, the right musical accompaniment shouldn't be missing. Therefore you can find the link to our Hinterland Roadtrip Jams on Spotify here!